Austin Permaculture

An Austin area journey in developing an abundant and sustainable landscape.


Leave a comment

Contour Woody Bed – Planting Trees

Fast forward again to March of 2015.  I ordered about 35 trees from Bob Wells Nursery and Grow Organic.  28 of these trees got planted in the contour woody beds.  I still had two beds fallow and unused.  At this time in my life, work had become an incredible drain on my time.  This was pretty much the last project I had been able to complete in 2015.

I ordered Chinese chestnut, halls hardy almond, Li jujube, plums, peaches, apples, pears, a couple of fig trees and a wonderful pomegranate.  I completely failed to snap pictures of the trees.  I instead became very fixated on nature’s compliments to my garden.  Namely the animals.  Lizards, frogs, a garden snake and baby fricken bunnies.  No kidding!  I got pictures to prove it.

IMG_0212

A little garden snake upset that I put him in the wheelbarrow.  I released him elsewhere in the garden away from the end of my shovel.  As I continued to plant the trees, I noticed the soil was very easy to work and almost effortless digging.  As I made my way along the beds, soil had settled between the logs making holes for nature to fill.

IMG_0217

Frogs in your garden are a compliment from nature.  Since frogs respire over 50% through their skin, they are very subject to pesticides and chemicals.  My garden is devoid of these damaging agents and I actually stumbled upon another set of frogs.

IMG_0220

After finishing the first row of trees I continued to the second row.  As I put my shovel into the ground I stepped back and heard I high pitched screaming.  It was pretty horrible, but my coolest discovery was yet to be found.

IMG_0213

I had inadvertently stepped on a bunny burrow.  I lifted up the straw and fur to find a den of kits.

IMG_0215

I removed the fur and straw to make sure I hadn’t hurt any of the little ones.

IMG_0216

Every night when I come home, I see the adult versions running around.  It was pretty cool to actually be able to see the babies.  Everyone was just fine and were nestled back together in their burrow.  I got all the rest of the trees planted.  I was exhausted and consequently I forgot to snap tree pics.


1 Comment

Contour Woody Bed – Sweet Potato

Skip a couple of months to November of 2014.  Time to pick the taters.

In the middle row, in the most forward of the three beds, I planted sweet potatoes.  I had two slips that I grew out and an actual potato that I let grow roots.  These were planted back in late June of 2014.  I wasn’t too sure how well they would turn out as this was my first intentional attempt at a food crop.

Sweet Potato 1

This is when I knew they were ready.  I left the tubers in the ground for a little bit longer than I read.  Apparently they are ready for harvest after 100 days, but I chose to leave them in the ground for around 130 days.  Remember that I stopped watering them back in August.  They developed a root system that tapped into the wood core and drew upon that moisture.  They survived a Texas summer and set some ready beautiful purple flowers in September.

Sweet Potato 2

One of the slips with my finger for reference.  Now I don’t have fat fingers, but I had a healthy happy and fat sweet potato slip.  I wasn’t too sure what to expect to find underground.  Much to my surprise I had earthworms and lots of tubers!

Sweet Potato 3

You can see the old potato I planted at the top left.  There is still greens attached to the top. We put these to good use and we made an amazing sweet potato pie out of them.  The smaller tubers were a little fibrous, but we made due and unfortunately the pie was finished off before I could snap a photo.


Leave a comment

Sheet Mulch Followup

Fast forward from July of 2014 to September 2014.  After I planted the pear trees in the sheet mulched area in my front yard, a familiar leaf structure emerged.  The project follow up post is here:

https://austinpermaculture.com/2014/06/27/sheet-mulch-project-updated/

The leaf structure was that of a cantaloupe.  I had ran out of compost during the followup part of the project.  I used my own compost that I had made in the back yard.  Interestingly enough, not all the seed from a store bought cantaloupe had been “cooked” in the composting process.  What resulted was an amazing growth represented in the picture below.

Cantaloupe 9-7-14

That is one plant that yielded 48 melons.  Amazing production and a true testament to the power of permaculture!  These melons were the most tasty cantaloupe I had ever tasted.  There must have been some amazing biology going on in the soil.  I was able to sell a few to co-workers, because they smelled and tasted so good.

Bear in mind that the original soil in this area was fill dirt brought in after construction.  This base along with the lasagna structure of fertility fostered a prime growing environment for the cantaloupe.  A pretty cool accident.


Leave a comment

Contour Woody Bed Followup

A lot has happened since my last posting on my woody bed.  I have been taking lots of pics, but I haven’t been keeping up on posting.  I will bridge the gap between mid-2014 and the present.  Some very exciting things have been going on leading up to a couple of companies that I’ve started.

Lets start with July 2014.  The contour woody beds.

https://austinpermaculture.com/2014/06/19/contour-wood-core-garden-beds/

Bean Mix

After putting down a layer of compost and mix of black-eye pea and cowpea, I covered it with a layer of compost-infused mulch.  A good watering and a couple of summer showers later and a flurry of nitrogen fixing growth ensued.  I established 2 rows of the 5 rows in this manner.  Remember, these rows are about 25 ft. long.

Chickory

The middle row consists of 3 beds.  One bed with chickory, one with strawberries (they all died) and the other with…

Daikon Radish

Daikon radish.  Daikon or deep root in Japanese is well suited for the semi-arid conditions here in Texas.  It has a very deep root akin to a carrot and tastes like horseradish.  You can harvest the seed pods when they are young and use them as a salad garnish adding a spicy flavor.  You can also cut the top of the plant (chop and drop) leaving the root to decay adding organic matter (worm food) in your soil.

The chickory in the previous picture bloomed in the middle of August attracting bees and providing a pollen source while other plants had died.

In the final bed of the middle row I planted 2 sweet potato slips that I grew out and an old sweet potato I let go to root.  This was the only food crop that I yielded in November.  Interestingly enough, this plant did not like my well water.  I’m sure due to the alkalinity.  It was necessary to water everyday with rain water I collected.  Once August hit the tubers had set on and were tapping into the wood core for water.  I stopped watering all together.

More updates to get caught up incoming!


Leave a comment

Sheet Mulch Project Updated

I have been continuing to work on my sheet mulch project in my front yard.  This post is to update what I have completed on the portion closest to the house.  As in my original post http://wp.me/p448mB-2g I have a detailed explanation of what sheet mulching is.

This photo shows the cardboard laid out in the area.  I completed the first step prior to taking this picture.  That step was to remove all the plants and make them the 1st layer.

Sheet 2a

In the above picture I used paperboard sheeting that was left over from the house build.  This paperboard is used to hold insulation to the walls and is super tough.  It also fills a large area.  The next step in the process was to add compost.  I should have used more than what I did.  This process has taught me how much material that I need for a project this size.  You can also see in the background the 1st area that I sheet mulched.  This area still needed to be completed.  Both areas being experiments, I used two different types of straw.  A finer straw in the first area and a coarse straw in this updated area.

Remember to water between each phase.  This next photo is where I laid compost out as the next layer.

Sheet 2b

Next step is to put down a layer of straw.

Sheet 2c

This is a large space.  The camera shot doesn’t really do it justice.  It takes a lot more material than one might think.  You can just spot our new puppy in the upper right corner of the photo.  We got a German Shepherd in mid-December.  This portion of the project was completed on December the 29th.

At the time of this posting I still have not completed the sheet mulching pictured in these photos.  I did complete the sheet mulching in the background of the above photo.  I am going to add in the final phases of that area.

It was four months later, in April.  Both of these areas had made it through the winter and were a little ragged.  I had to add rocks and tree limbs to keep the straw from blowing away.  I had also planted 3 pear trees in the front area by the driveway.  When I put the shovel in the ground it was like cutting into soft butter.  It was so easy to plant those trees.  Another benefit of sheet mulching: water retention in the soil.

Almost six months after sheet mulching this area.

Sheet 3a

As you can see, the area looks rough.  The wind has exposed some areas, but there has been significant repression of weed growth.  The main weed growth is at the edges.  The first step is to repair the damaged areas with their respective layers.  I pulled up the weeds first.  Its super easy, they come right out!

Sheet 3b

At this point I had taken to a dirt vendor 6 miles away and purchased compost and black mulch from them.  I spot filled with compost and then with straw.

Sheet 3c

And more straw…

Sheet 3d

After patching the damaged areas, I added compost.  You can see the pile in the last few photos.

Sheet 3e

Finally added the “living mulch”.  The dirt vendor stated that it was a black mulch/compost combo.  I didn’t quite have enough to do this area.  I got a yard of the material, but needed a yard and half.

Sheet 3f

I was able to complete this project the next weekend.  The three pear trees in the picture are a bosc(middle) and bartlett(outer).  I chose them for this area because they are wet soil tolerant.  This area holds moisture because of the sheet mulch and does not drain well.  Two months after this series of pictures, the pears have bloomed, but they have struggled with the Texas sun.  I will include pictures showing this in my next sheet mulch update.


Leave a comment

Contour Wood Core Garden Beds

First, apologies for sporadic posting.  I have been very busy with work, the homestead and permaculture training.  Along the way I have been keeping notes and taking pictures for future postings.

This post is about my contour wood core garden beds that I started construction on in September of last year.  This area was designed to be a series of five rows.  Each row of beds spaced three feet wide with another three feet between the next row.  I wanted to have enough room to get a wheel barrow down the paths between each bed.  This post will cover the construction of the beds and I will follow up with another post in the future on plantings and establishment of the beds.

First, why are we burying wood logs in the ground?  What purpose will that serve?  It’s all about Hugukultur.  A system of growing beds with a buried wood core.  A forest grows on a fallen forest.  My goal here is to simulate that, but underground.  Hugukultur is above ground and excels in cooler climates.  Here in Texas, I need to have resiliency against drought and sporadic rain fall.  Buried wood core creates a water reservoir for plants to interact with.  As the wood core decays over many years the plants are able to benefit from this process through partnership with beneficial fungi.  The fungi form a circulatory system in the ground that the root system of the plants can tap into.  The plants will exchange starch for nutrients with the fungus as well as enjoying a wicking effect from the saturated wood core.

Second, an explanation of what contour is.  These beds are “on contour”.  That means that they are level along their complete length.  To achieve this, you need a surveying level.  Either an “A” frame or an electronic laser level.  I used a laser level.  A laser level is a self leveling machine that sends out a laser spinning in 360 degrees horizontal to whatever you mount it to.  In this case, it is mounted to the ground via a tripod.  It doesn’t matter if you are on uneven ground  the machine will calibrate and level itself out.  The other part of the machine is a measuring stick that has a laser sensor mounted to it.  As you walk uphill and downhill from the level the laser will hit the sensor making it beep.  This tells you that you found the same elevation from where you calibrated the level at on the tripod.

The goal is to have the most uphill bed on contour.  As water flows from uphill to the first bed it will fill it up like a sink and then it will soak downhill to the next bed.  The next bed downhill will not necessarily be on contour, but it will be parallel with the first uphill bed.  The next bed will be soaked from the second bed uphill from it and so on.  So your first bed that is on contour will be where you will want to plant your water loving plants like melons.  This first uphill bed is on contour so it will harvest water passively from the land around it.  The next downhill bed will be planted with progressively less water loving plants.  This second bed is more of an over flow bed from the first one.  The third bed will catch over flow from the second and so on.

An illustration will demonstrate this plan.

The plan

How do you find your starting point?   That’s easy, it’s wherever you want it to be.  Remember that the laser level spins up and calibrates itself to level.  The measuring stick with the sensor will find that same elevation.  In my case, I simply walked a little east of the level and the sensor beeped at me.  That was my starting point.  I put down a marking flag and moved further east and slightly up.  I made the bed about 25 ft. long marking every 5 ft. or so.  I took some marking paint and sprayed a straight line from the first flag to each additional flag.  Then I used a tape measure to mark 18 inches above and below this line.  The solid line with the flags was to be the middle of the bed and the markings above and below were to be the edges of the beds.

From the middle of the first bed I measured 6 ft. downhill.  This was the starting point for the second bed.  This bed would have a break in the middle as reflected in the below illustration.  Again, I measured 18 inches above and below this second solid line.  These were to be the edges of the second row.  The third row had two breaks making three beds.  The fourth row had two beds and the last row on the downhill side was one continuous row.  I had a couple of friends come out to my place during this process.  They got to learn how a laser level worked and helped me mark the beds.

An illustration showing my paint lines.

Laser level

Here is a picture of the land with spray paint markings.

Woody 1b

Here is a picture of the first bed being dug out.  I used the same machine that I dug the swale with.

Woody 1a

Here is a picture of the 1st row bed and the second row of 2 beds.

Woody 1c

Finished excavating all 5 rows.  Red lines are added for emphasis.  Please excuse my crude art skills with an editor.  The perspective is a little skewed with the angle I shot the photo.

Woody 1d emphasis


Fast forward a couple of months and after I completed the swale.

Now the fun part.  Moving wood logs to fill up the holes.  The depth varied from 8 inches to 18 inches deep depending on how far I could dig down before I hit chaleche.  Chaleche is basically ocean bed, a formation of calcium carbonate bonding other rocks and sedimentary material.  It is extremely difficult to penetrate even with the excavator.

Here is a picture of one of the beds with logs in it.

Woody 1e

From there I put branches and other small twigs to take up some room.  The goal here is to offer media that the fungus can breakdown in varying stages.  Mulch, twigs, branches and then logs.  Of course you need to put it in the hole in the reverse order.

Here is a picture of the bed with branches and twigs.

Woody 1f

Add in the mulch to fill the gaps between the branches and twigs.

Woody 1g


Another view of the last bed on the downhill side now ready for soil.

Woody 1i

The next step is to add the fungus.  We inoculate the wood with a beneficial Mycorrhizal fungus.  I got my fungus from http://www.fungus.com.  One heaping tablespoon per each gallon is what I used.  One gallon was enough to do a 10ft. by 3ft. area.  I did my best to saturate the mulch with the mixture.

Mycogrow is the name of the product.

Mycogrow

Next step is filling the beds up with soil.  My soil that I removed from this garden area was littered with rocks and chaleche.  This was also my first time running a mini-excavator and I didn’t think of removing just the topsoil first and putting it in a separate pile.  I learned my lesson with the swale though.  By the time I got to this phase I had plenty of soil left over from the swale.

A pile of topsoil and subsoil from the swale project.

Soil pic

Simulating nature I moved the subsoil to the beds first.

Woody 1h

Another view of a bed with soil.  The first bed on the uphill side.

Woody 1j

After filling up all the beds I worked on combining the topsoil from the swale project with compost.  This was the last step for this phase.  Some of the beds would be mulched and others would have living mulch.  I will follow up with a post on plantings.

A big thanks to Jack Spirko the http://www.thesurvivalpodcast.com.  I went to a workshop at his home in May of 2013.  This project is taken from what I learned there.  His teachings have been instrumental in my projects and he is the reason for my inclusion of permaculture in my life.

Woody 1g


1 Comment

Berkeley Composting Method

I learned this method when I took my Online Permaculture Design Course.  This is an 18 day composting method.  When composting you want to strive for a 20:1 to a 25:1 of carbon to nitrogen mix to your final ingredients.  Your “browns” are dead plant matter and represent your carbon input.  Your “greens” are your still living or freshly cultivated plant matter, this includes: lawn trimmings, vegetable and fruit scraps as well as coffee grinds and herbivore manure.  Here is the recipe and the procedure:

Recipe:  1/3 manure preferably cow,  1/3 browns and 1/3 green.  Building a pile 3ft tall by 3ft wide.  Optional:  Add an activator.

Procedure:

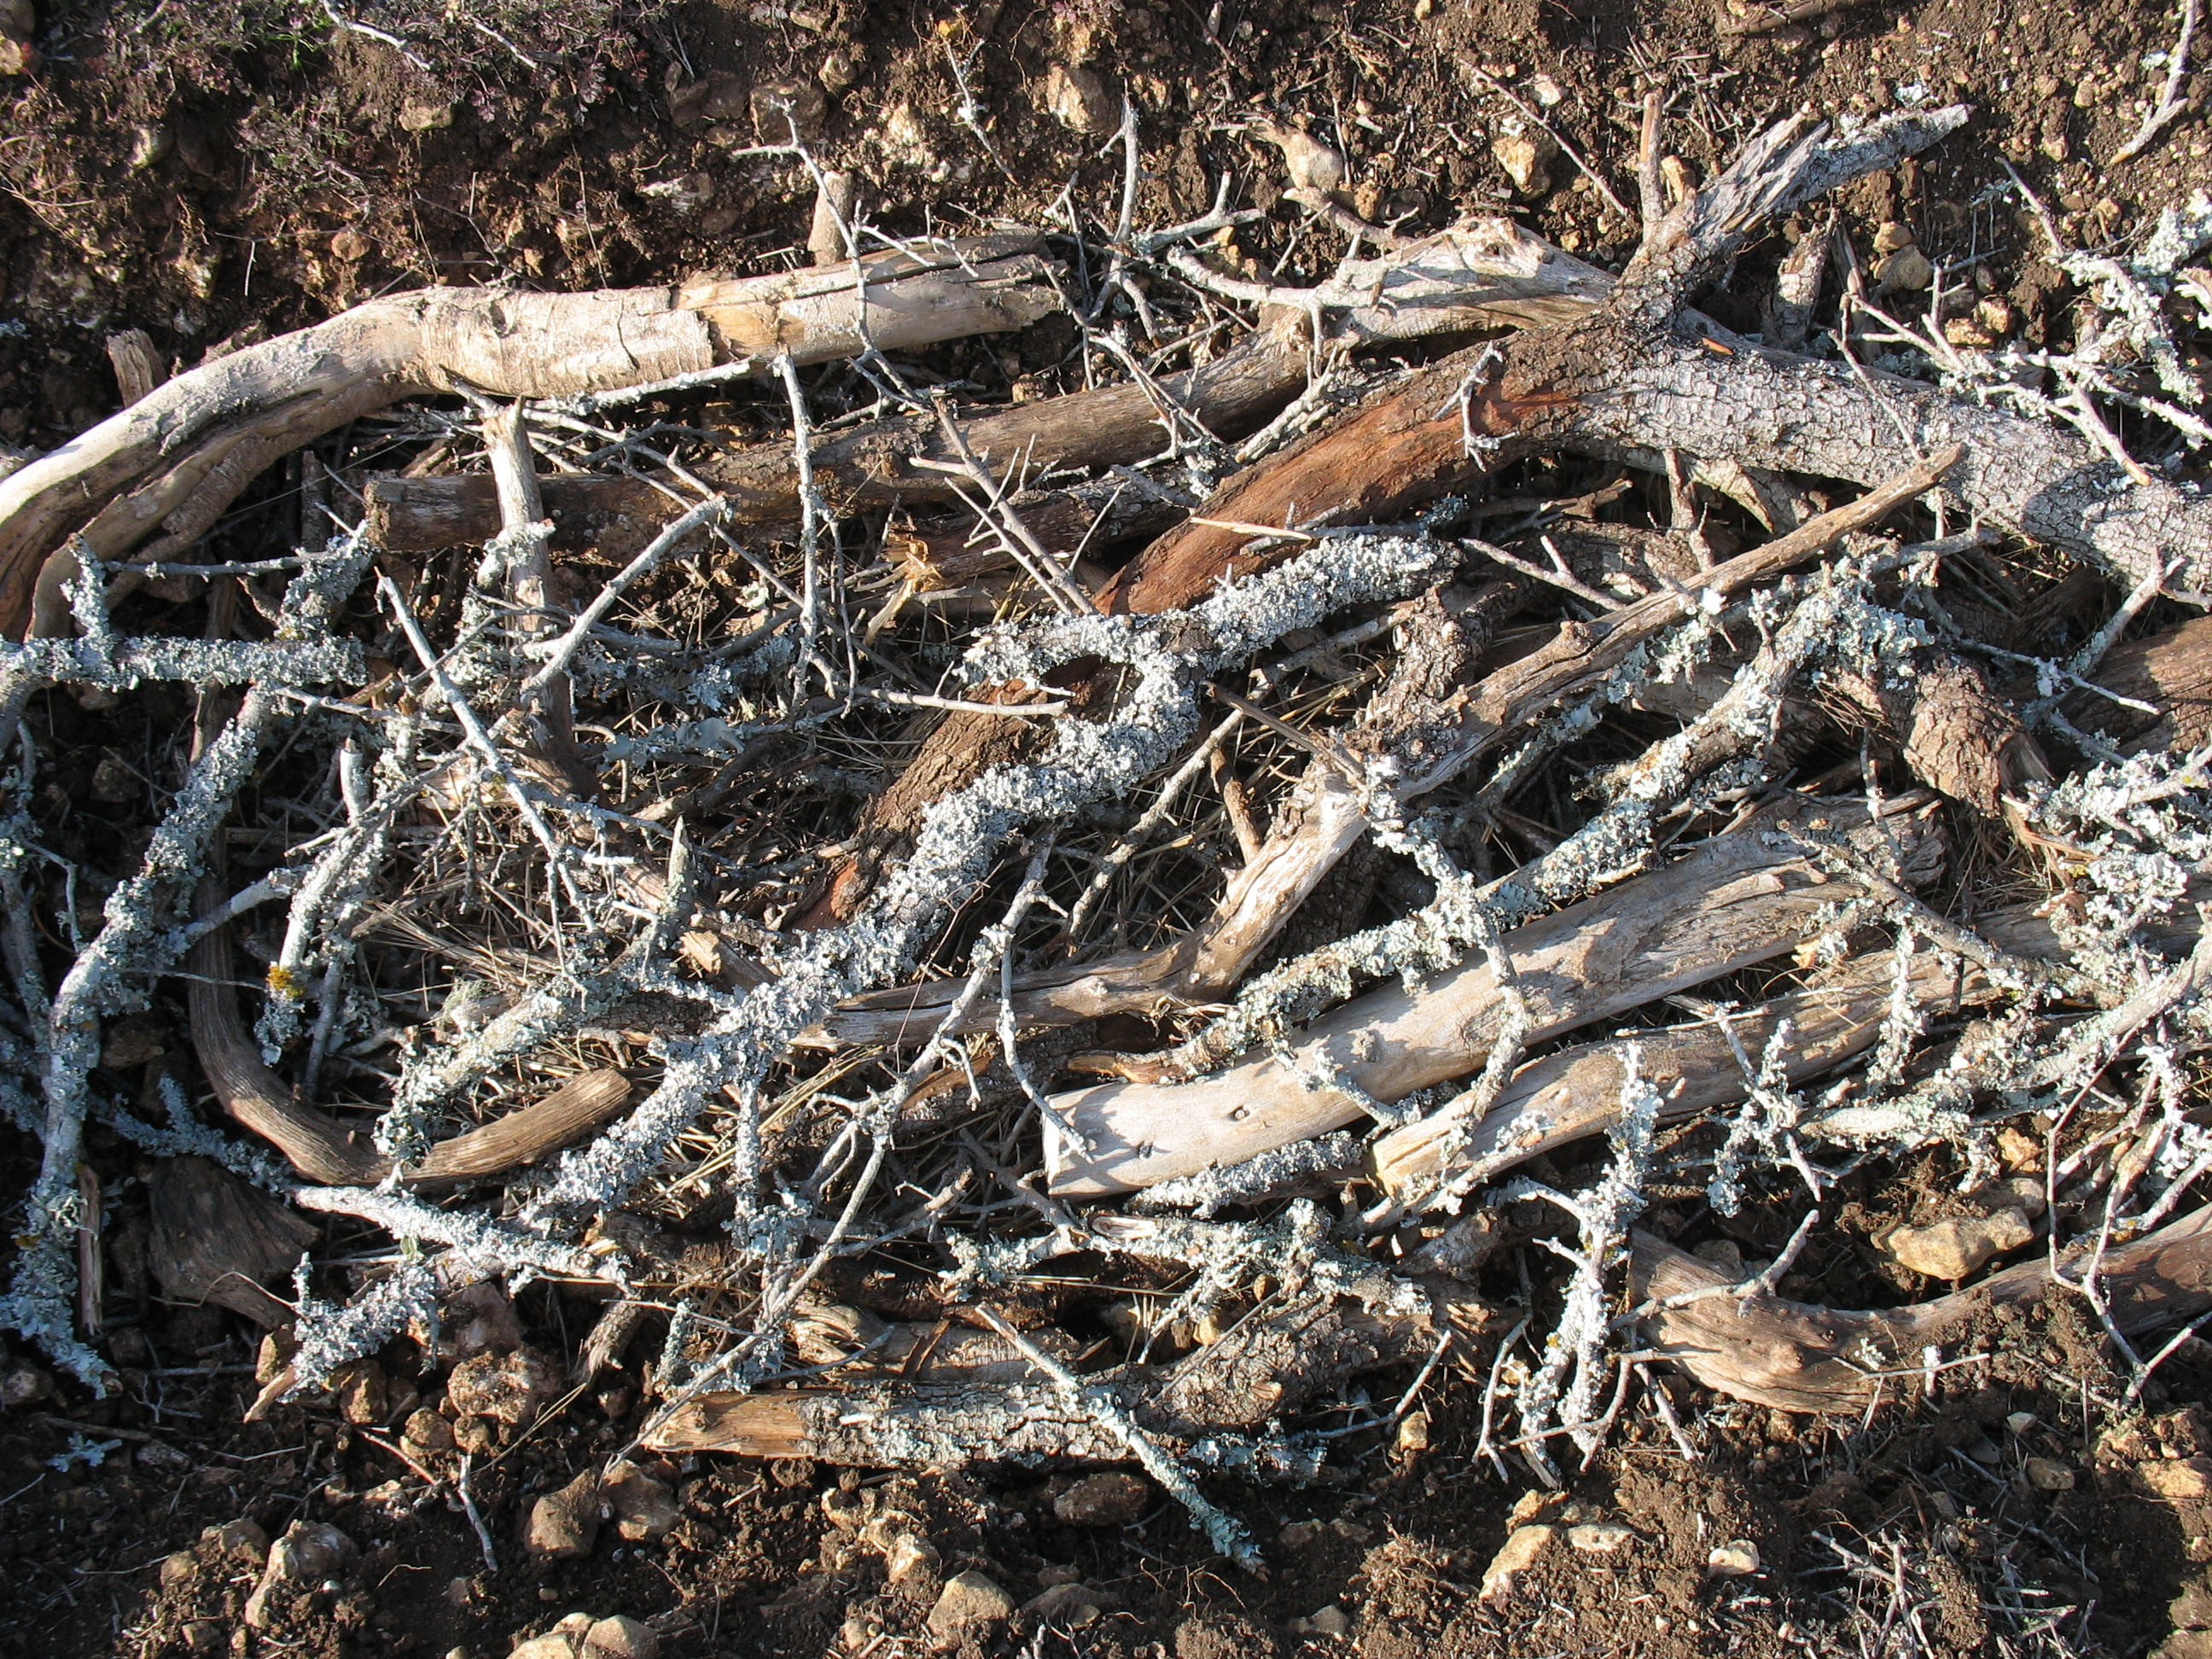
Step 1: You will start by laying down two beds of sticks.  I know some people that use pallets too.  I used a bed of bushy dead shrubs.  The purpose of laying down this layer is to encourage aeration on the bottom of the pile.  We do not want anaerobic decomposition.  If you see a white powdery substance in your pile this is an indicator of anaerobic decomposition.  Your base of the pile should be about 3ft in diameter.

Step 2:  Put down a layer of browns.

Step 3:  Put down a layer of manure.

Step 4:  Put down a layer of browns.

Step 5:  Put down a layer of greens.

Step 6:  Repeat steps 2 to 5 until your pile is 1.5 ft tall.

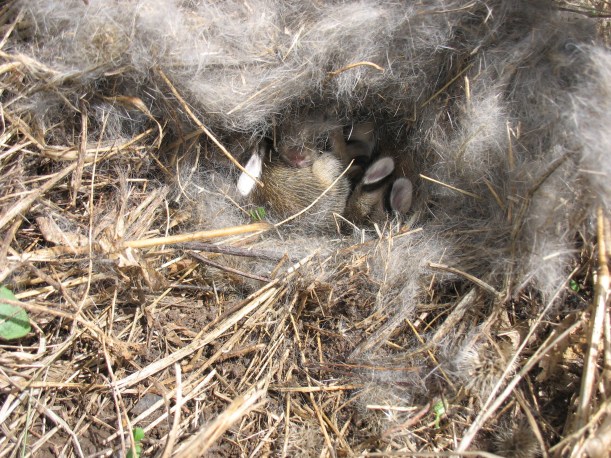
Step 7:  This is where we add an activator if possible.  This can be a small animal or a mass of nettles/veggie scraps.  This is an optional step and not necessary.  It just helps to fire up the process and ensure that we have an 18 day process.  In my case I used some bull nettle from my yard.

Step 8:  Complete steps 2 to 5 until your pile is 3 ft. tall.  Water your pile until water comes from the base of the pile.

Step 9:  Place sticks around the upper portion of the pile.

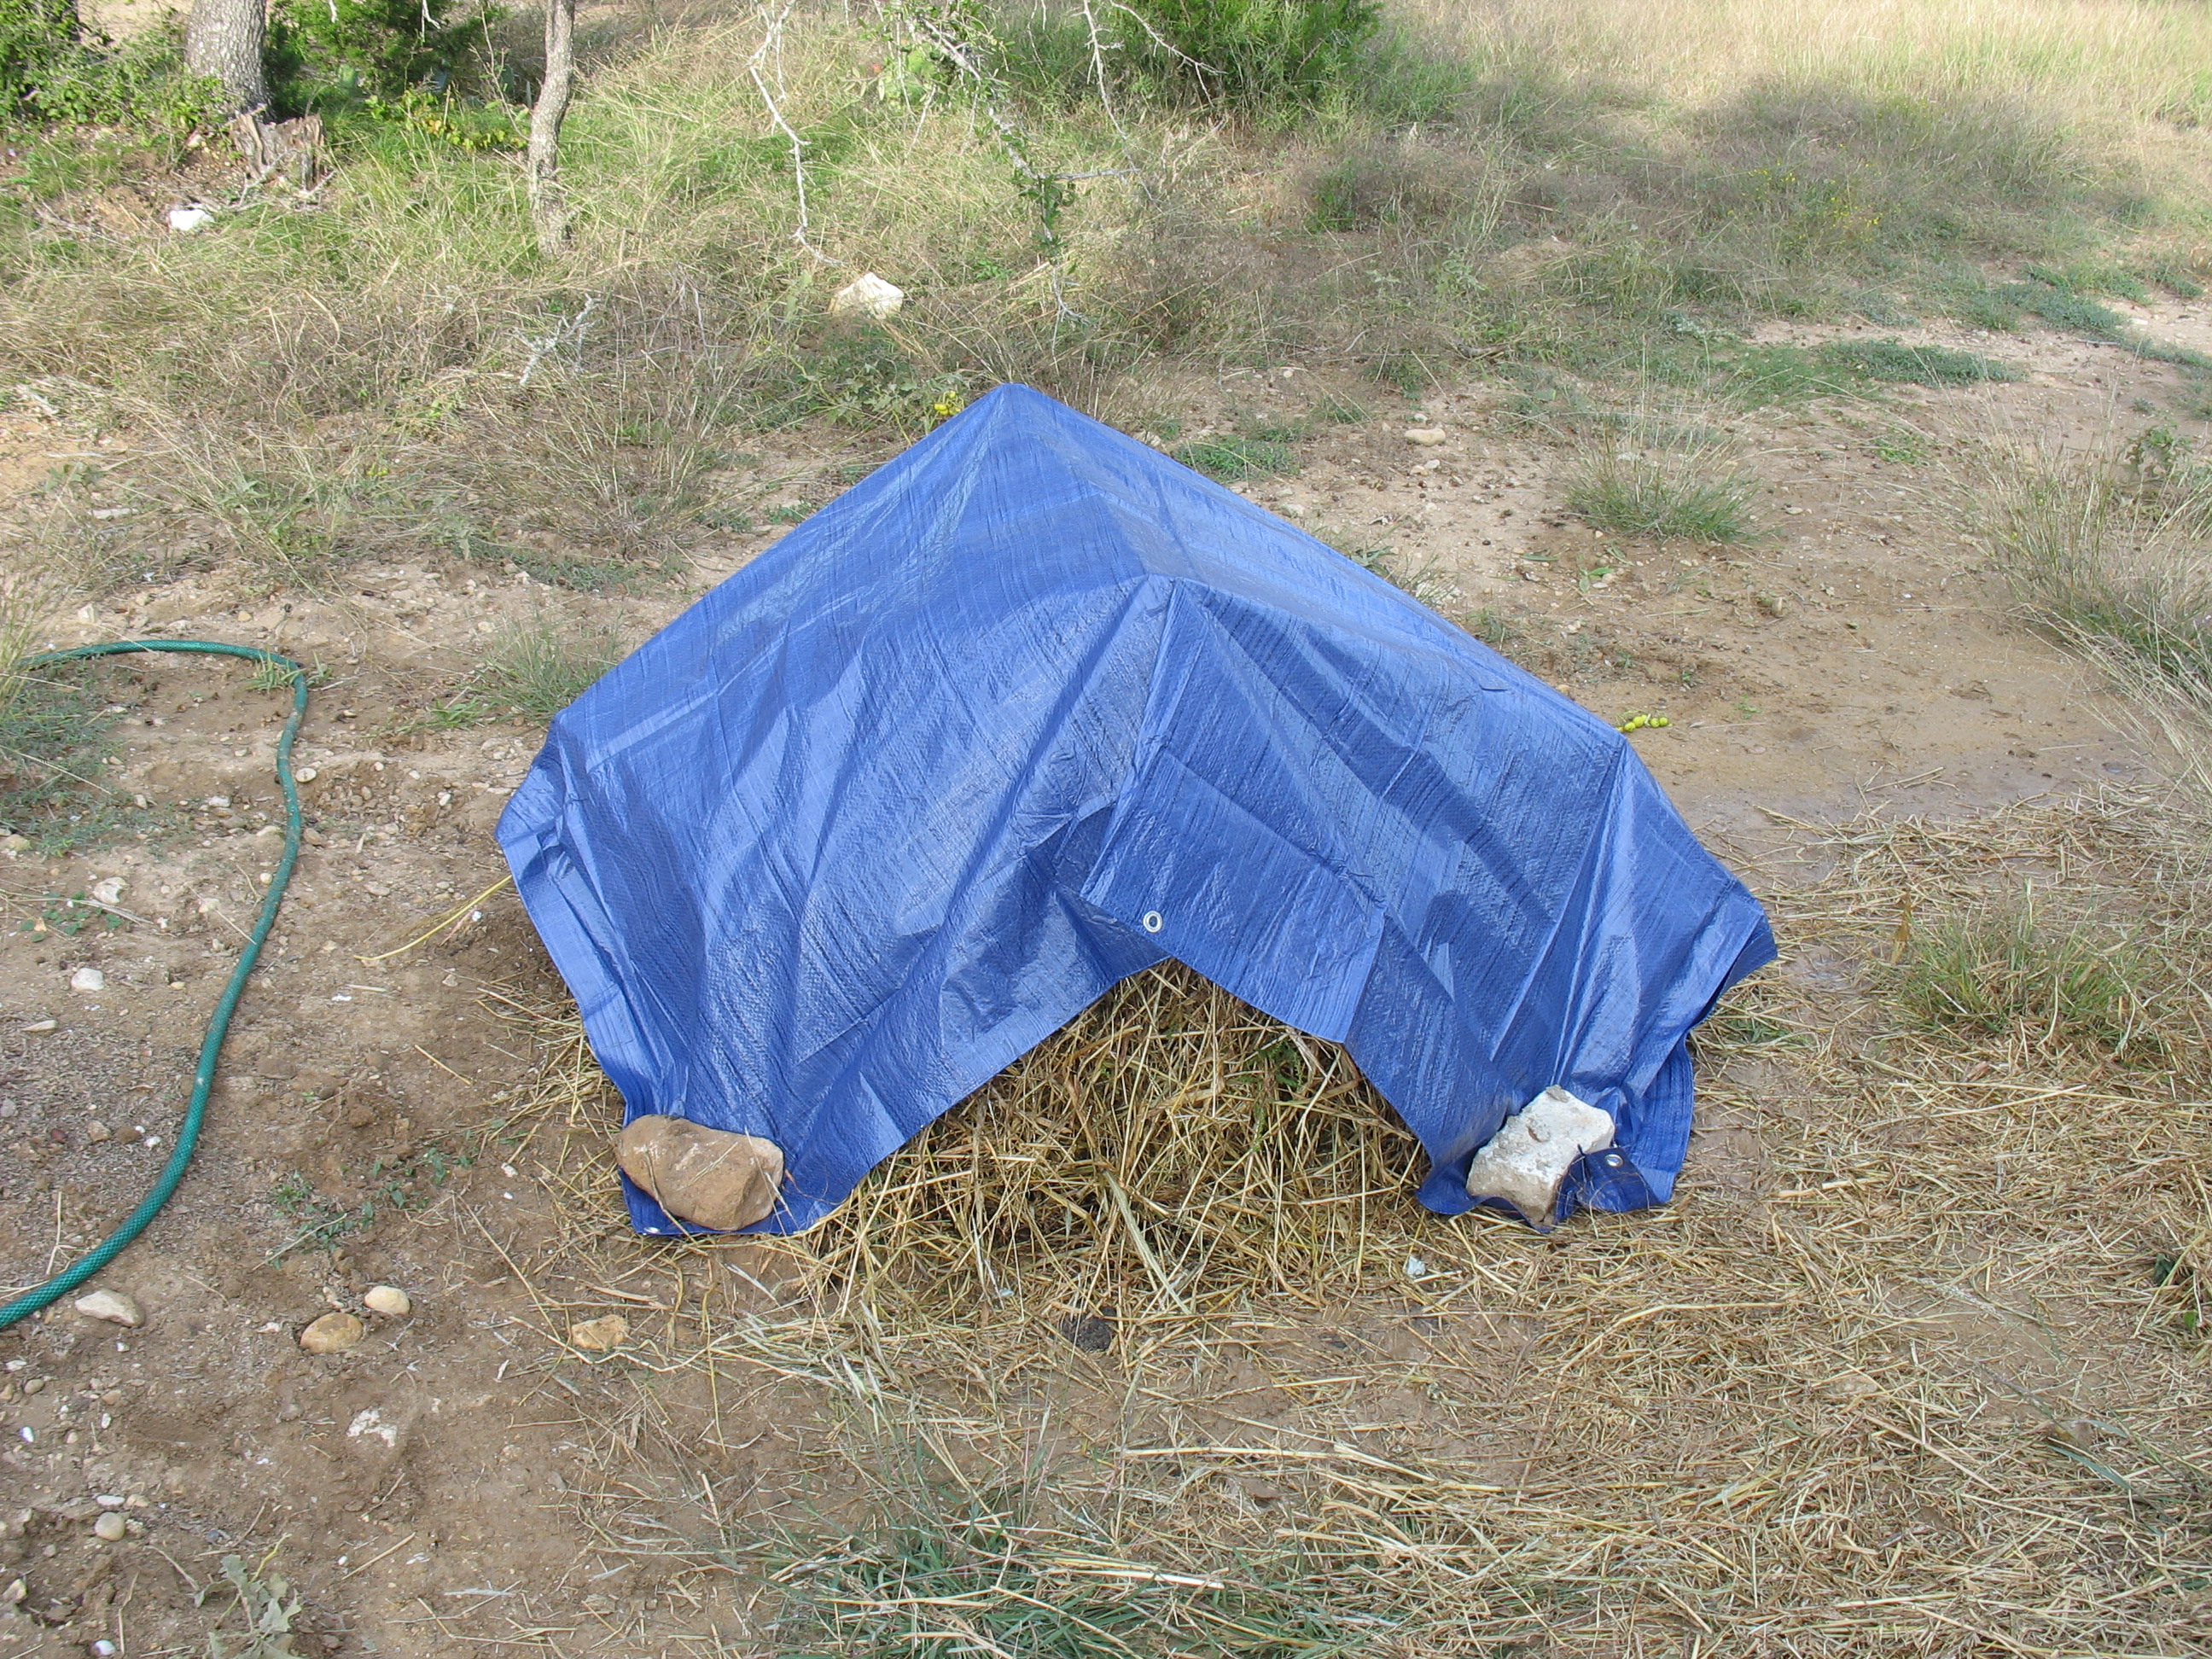
Step 10:  Place a tarp over your pile and anchor it down with rocks or any of heavy item you have.  I used a 6’x8′ tarp and found this to be too small.  I would recommend at least 8’x8′.  The sticks keep the tarp from touching the pile and prevent anaerobic decomposition.

Next we will map out the day to day procedure on turning the pile.

Day 1:  Pile creation.  Take your tarp off and water the pile as needed.  If you got your pile too wet you can use the handle end of your manure fork or shovel to poke a couple of holes in the top of the pile to help dry it out.  Always recover the pile with your tarp.  I water my pile every other day.

Day 2 and 3:  Leave the pile under the tarp.  Water as needed.

Day 4:  Turn the pile.  This is where owning a manure fork comes in handy.  A manure fork is like a pitchfork, but has 7 to 10 spikes.  You will exert less energy using a manure fork.  Just stick it in the top of your pile and start taking layers off.  Flip it over on your other layer of sticks, pallet or whatever base you have.  You will be turning the pile every two days, hence the need for two bases.  Build the pile like you did before  3 ft. wide by 3 ft. tall.

Day 6, 8, 10, 12, 14, 16:  Repeat the turning process, duplicating what you did on day 4.

Day 18:  You should have a usable pile of compost.

Here is a website for a compost calculator: http://www.klickitatcounty.org/SolidWaste/fileshtml/organics/compostCalc.htm

I used the calculator and found that I was going to have compost that will be a 20:1 carbon to nitrogen.  That is some pretty “hot” compost and would be best suited cut with fill soil or regular topsoil.

Day 1: Compost pile construction.

Day 1a

In this picture, greens are added to a layer of browns.  There are coffee grinds and crushed egg shells in the green layer.

Day 1b

In this picture, a layer of manure is added after a layer of browns. The pile is getting up to 1.5 ft. tall.  Next step to add an activator.

Day 1e

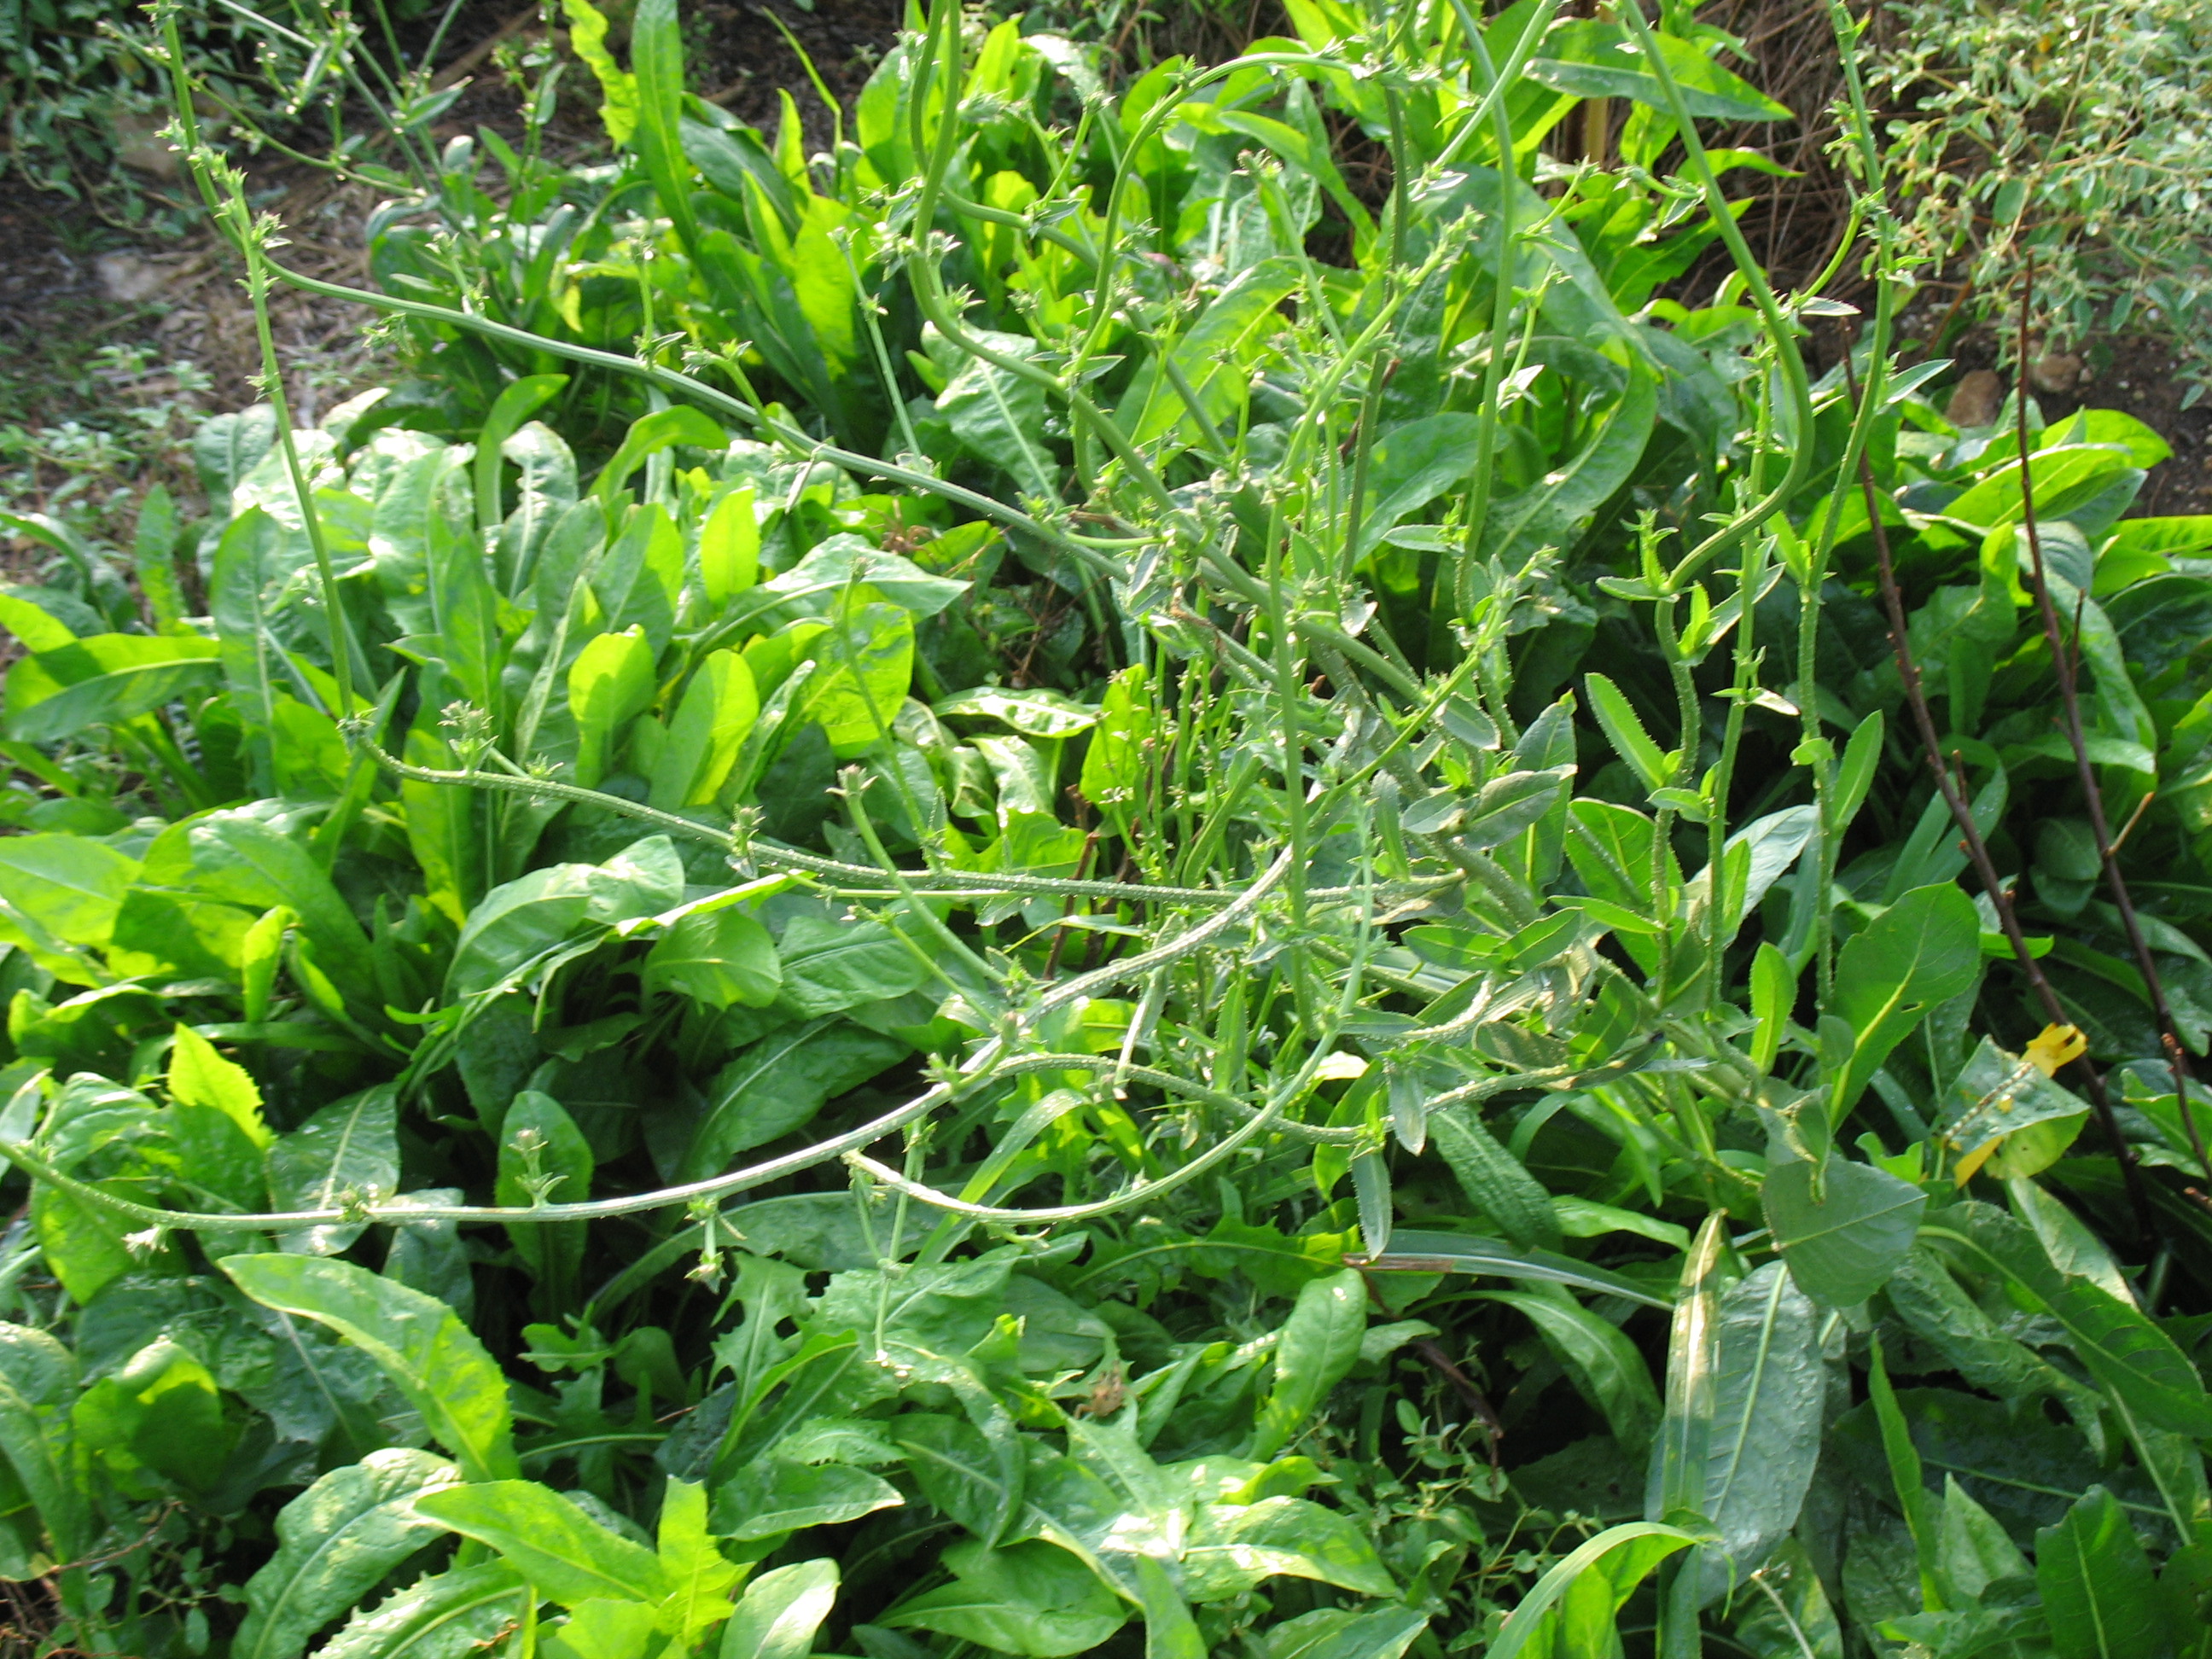
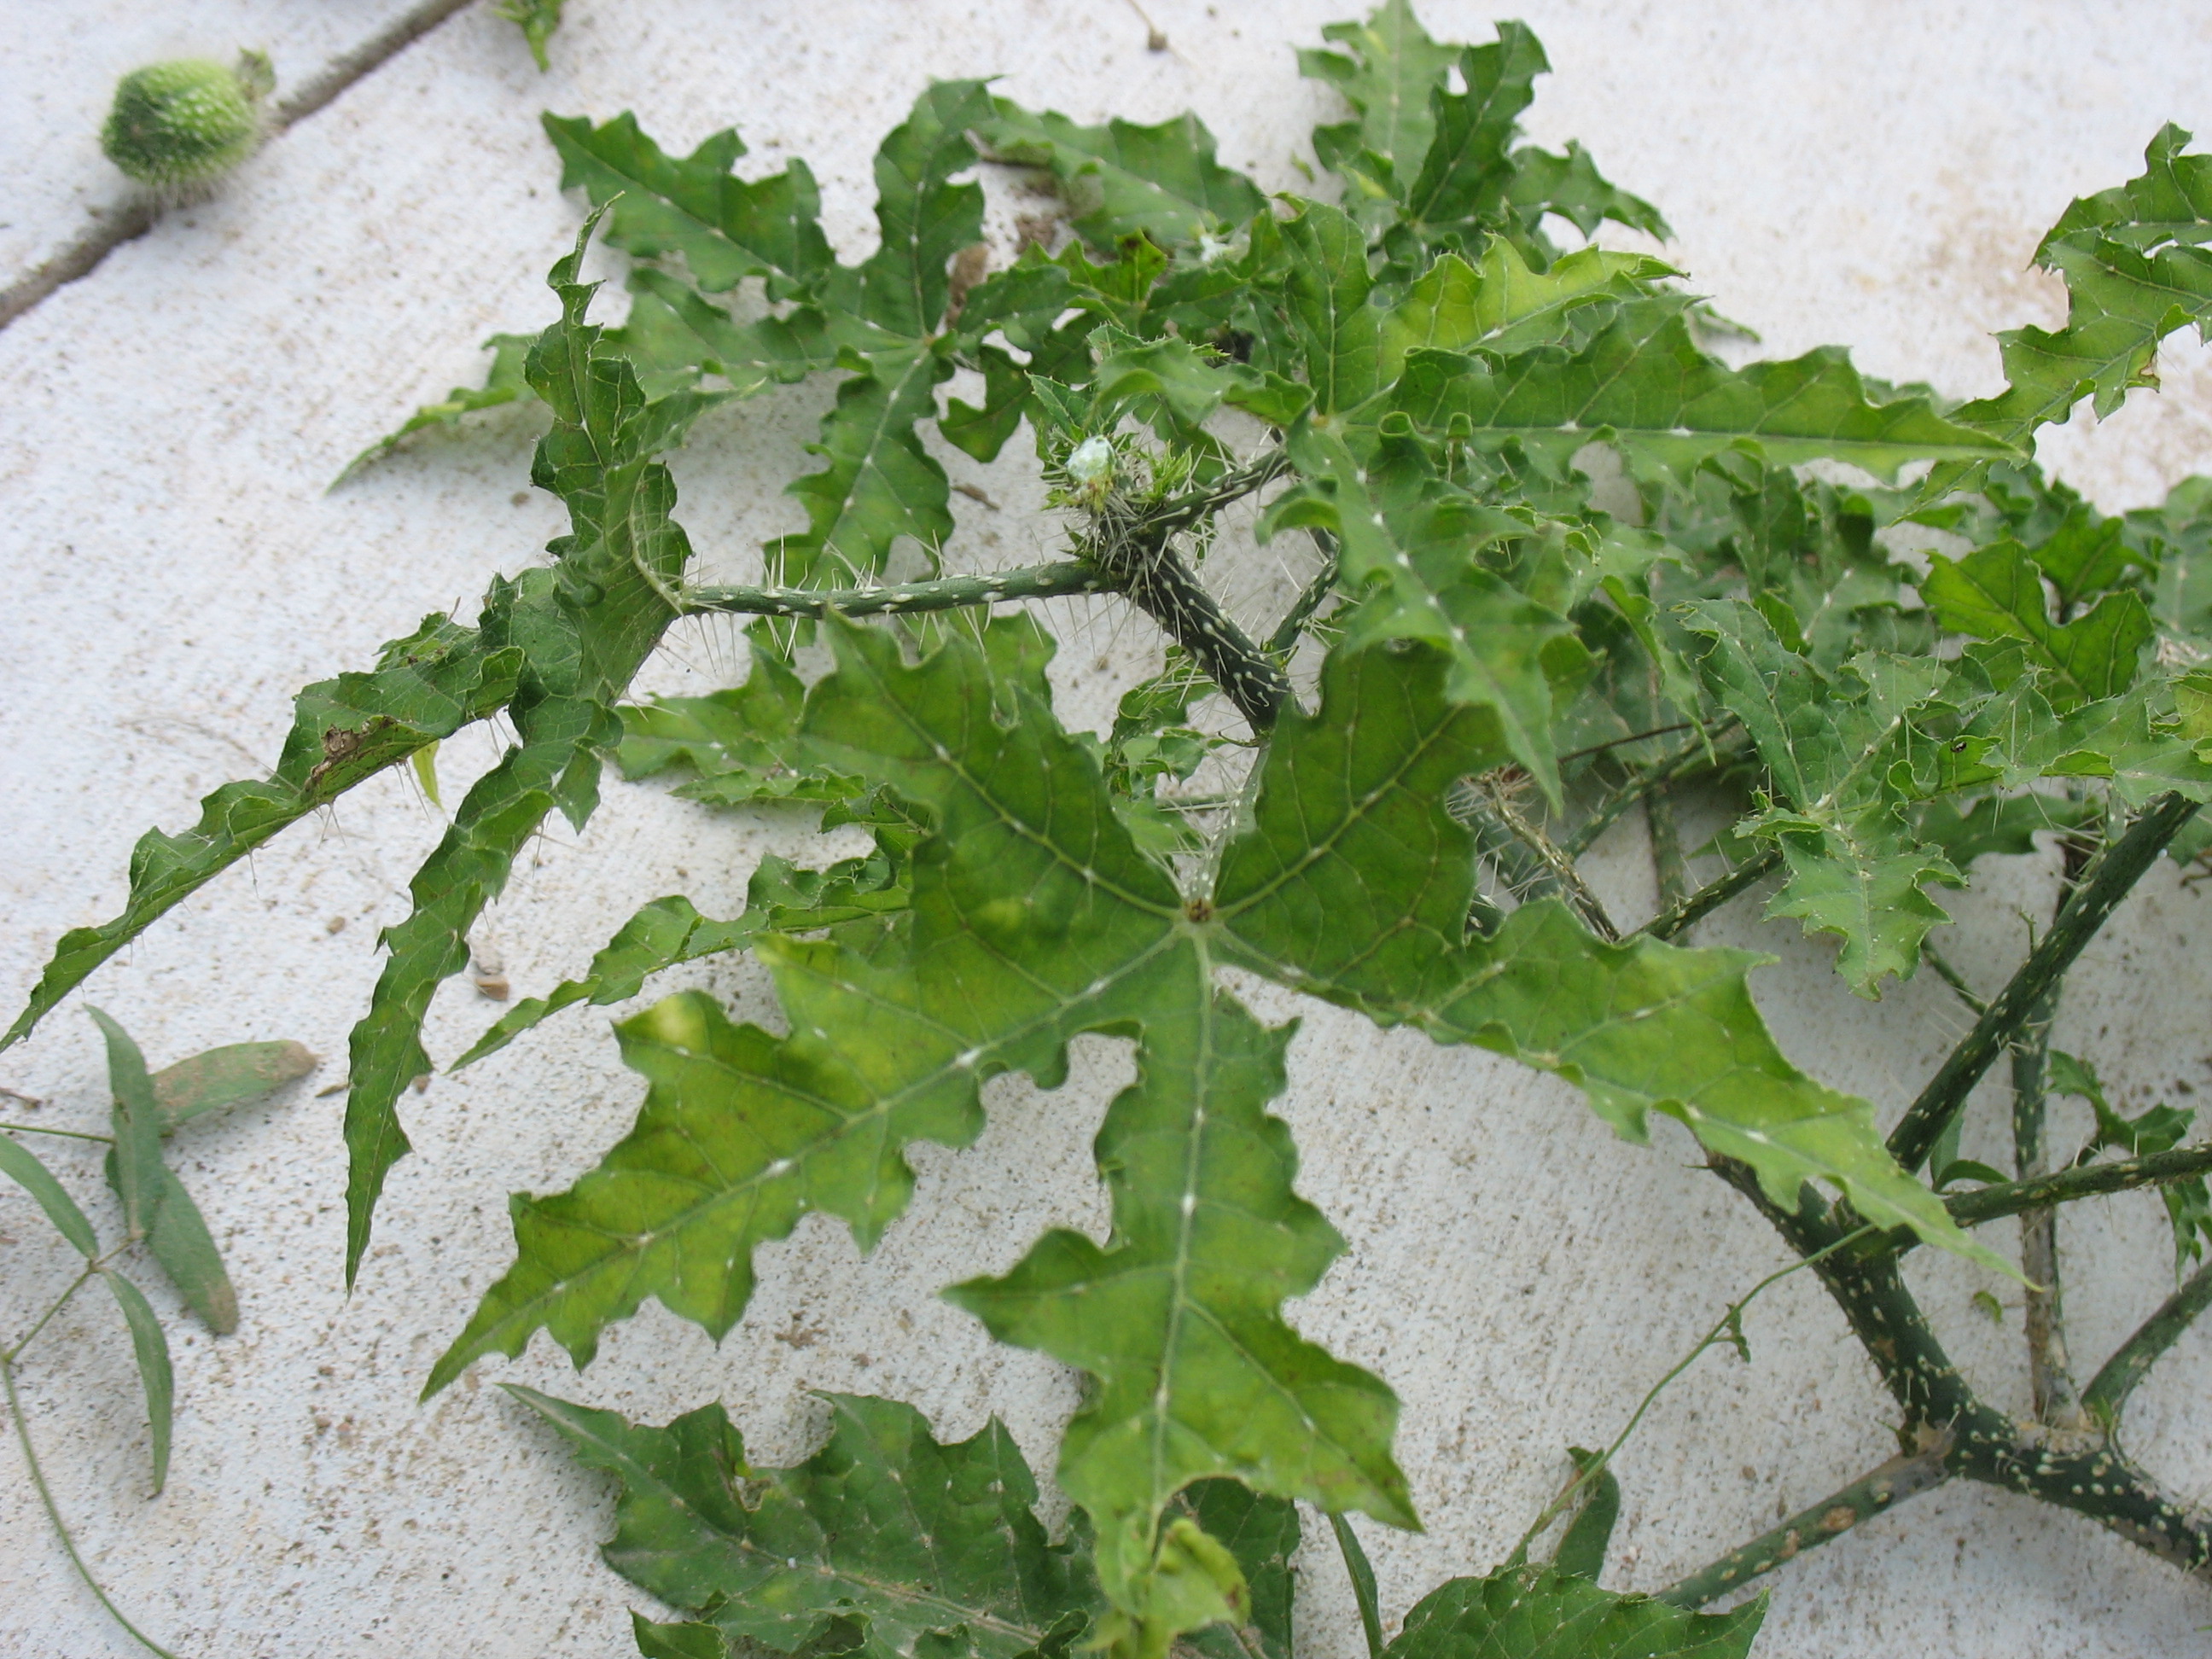
Bull nettle will be my activator.  Bull nettle is a dynamic accumulator.  It’s very presence in my yard indicates a soil deficiency.  Bull nettle occupies that space because it can “mine” nutrients and minerals that nothing else at this point can.  Therefore, it is full of nutrients and minerals and its decomposition will enrich the compost.

Day 1c

I cut the seed heads off.  Sometimes a compost pile will get so hot that it will cook seeds.  I didn’t want to take that chance.

Day 1f

After another layer of browns I added the bull nettle to the middle of the pile.  I also added additional crushed egg shells.

Day 1g

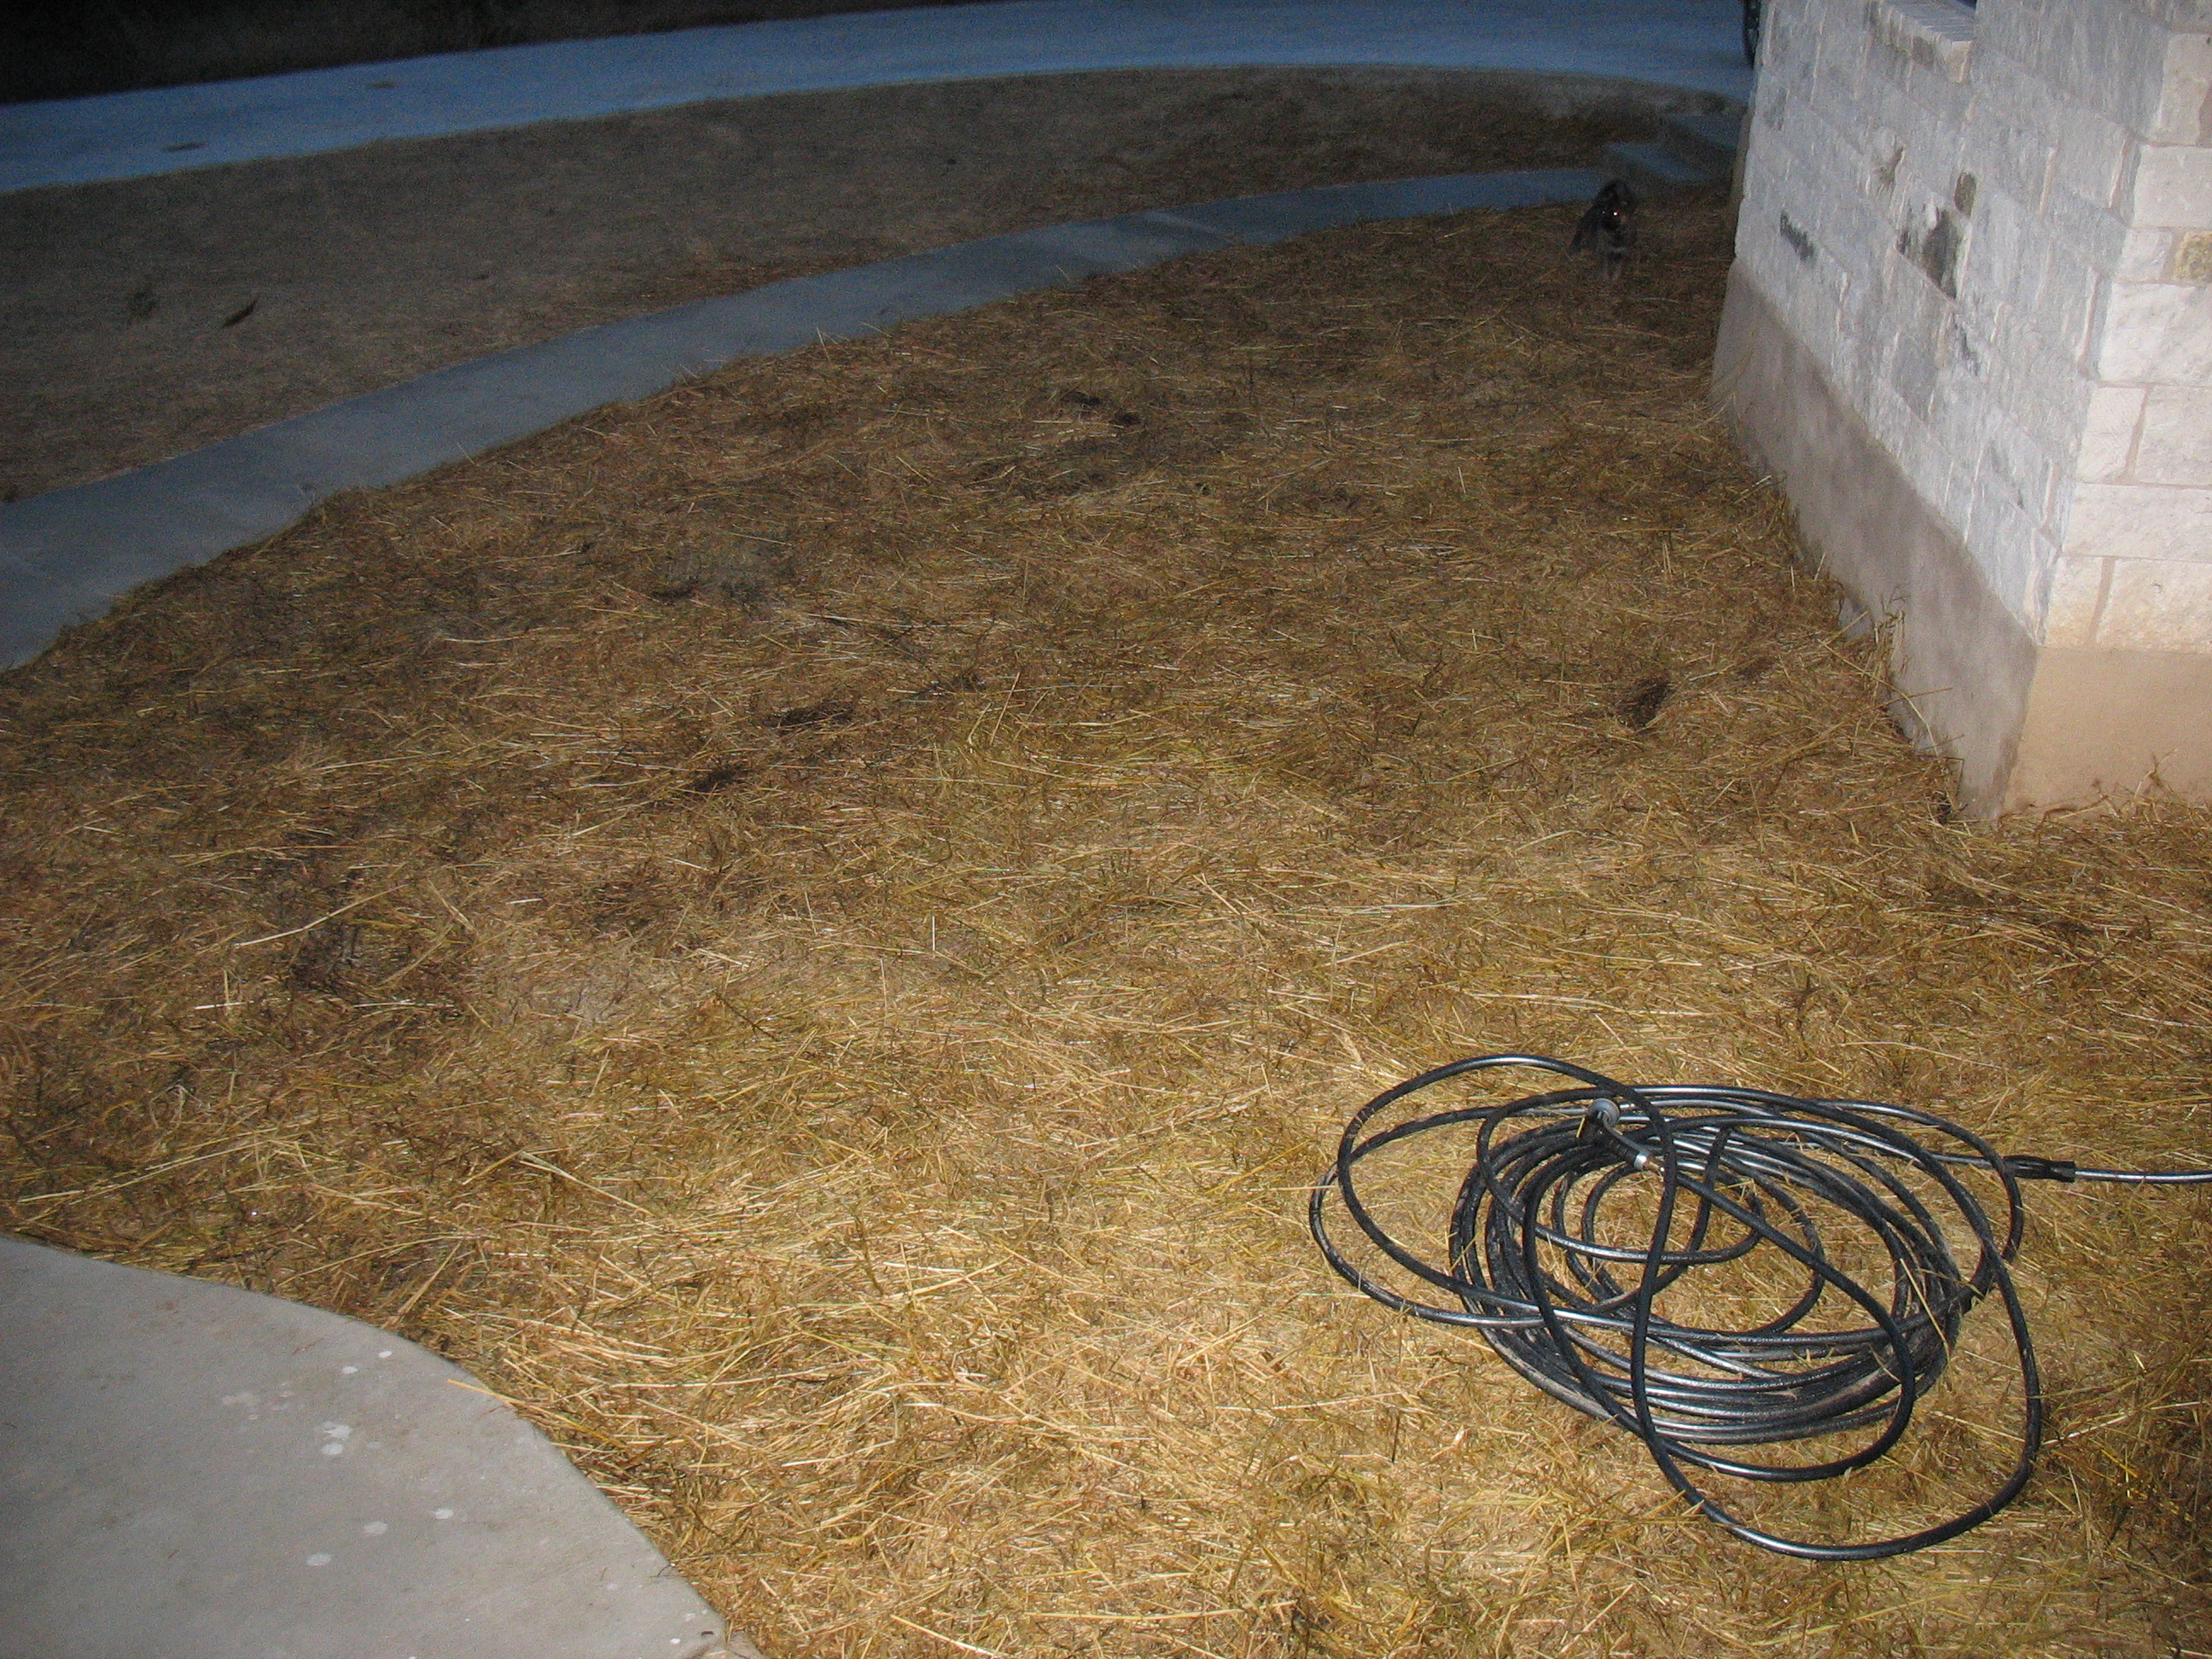
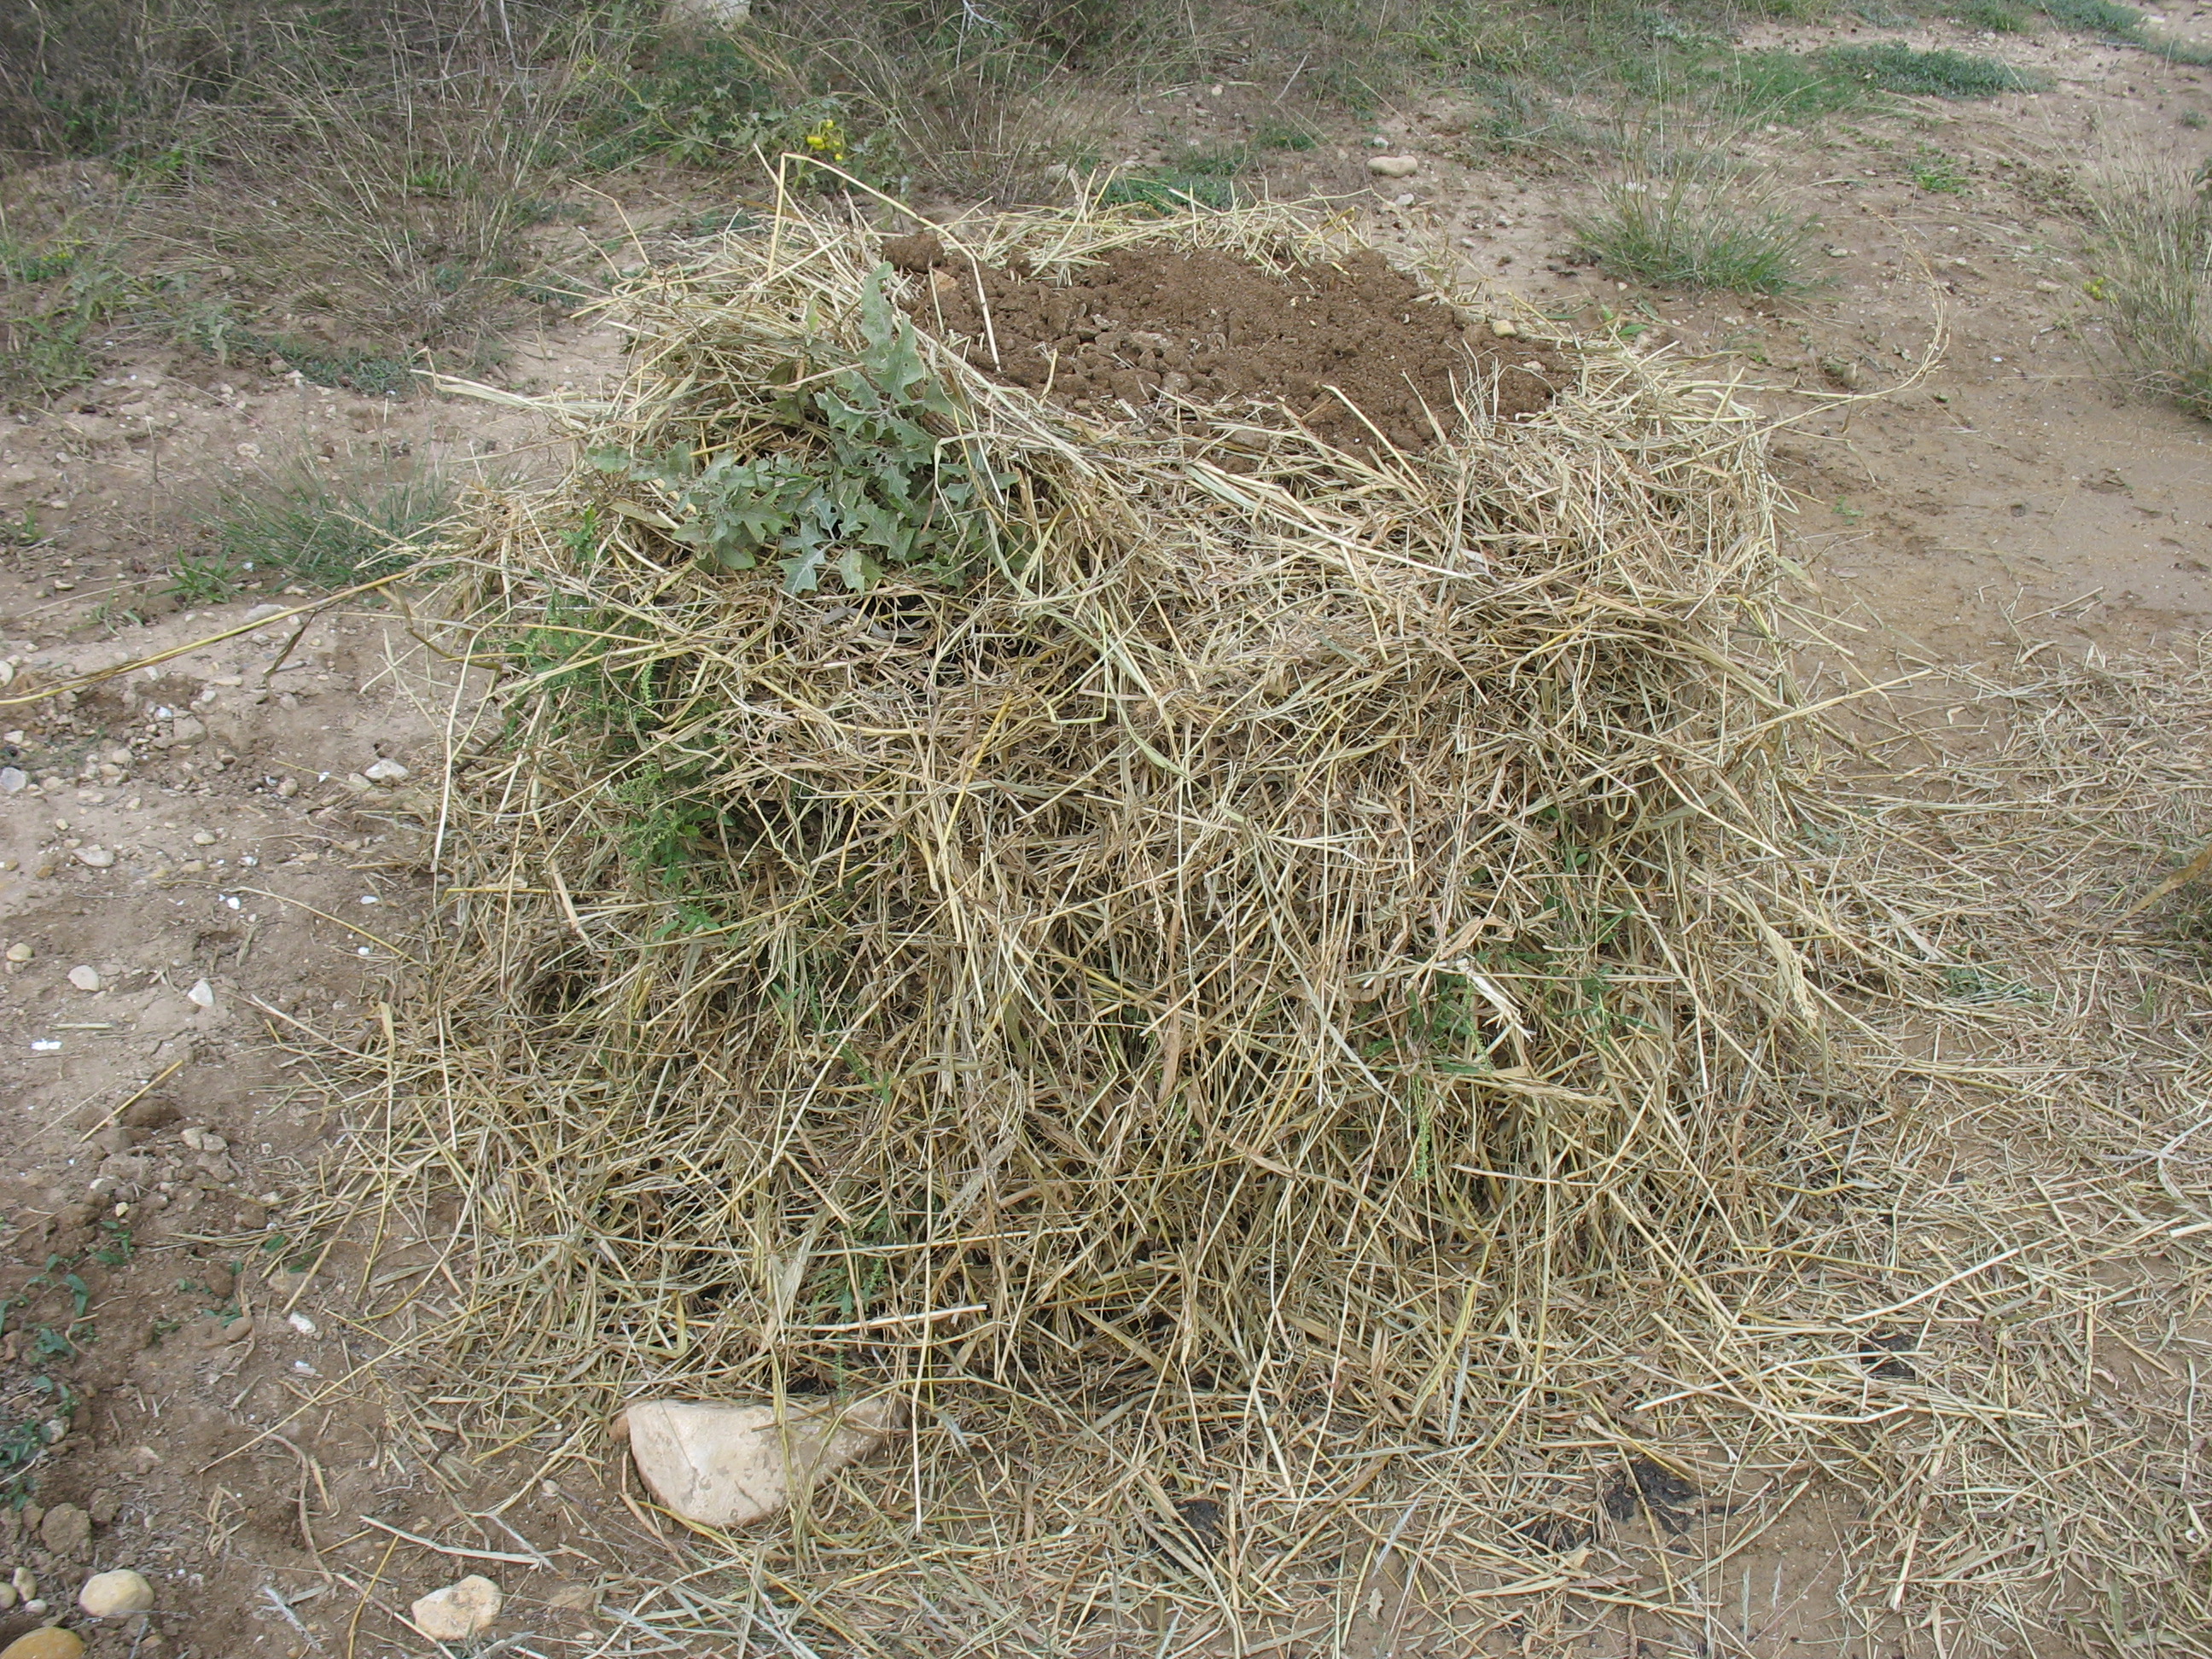
Continue building your pile up.  I finished with some fill dirt nearby to weigh the pile down.  At this point the pile is just over 3 ft. high.  Now you will water the pile taking care not to spray water too hard on it and making the pile fall over.  I usually spray a  fine mist over the whole pile and then put the hose into the pile until water accumulates at the base of the pile.  You don’t want to over saturate or under saturate.

Day 1h

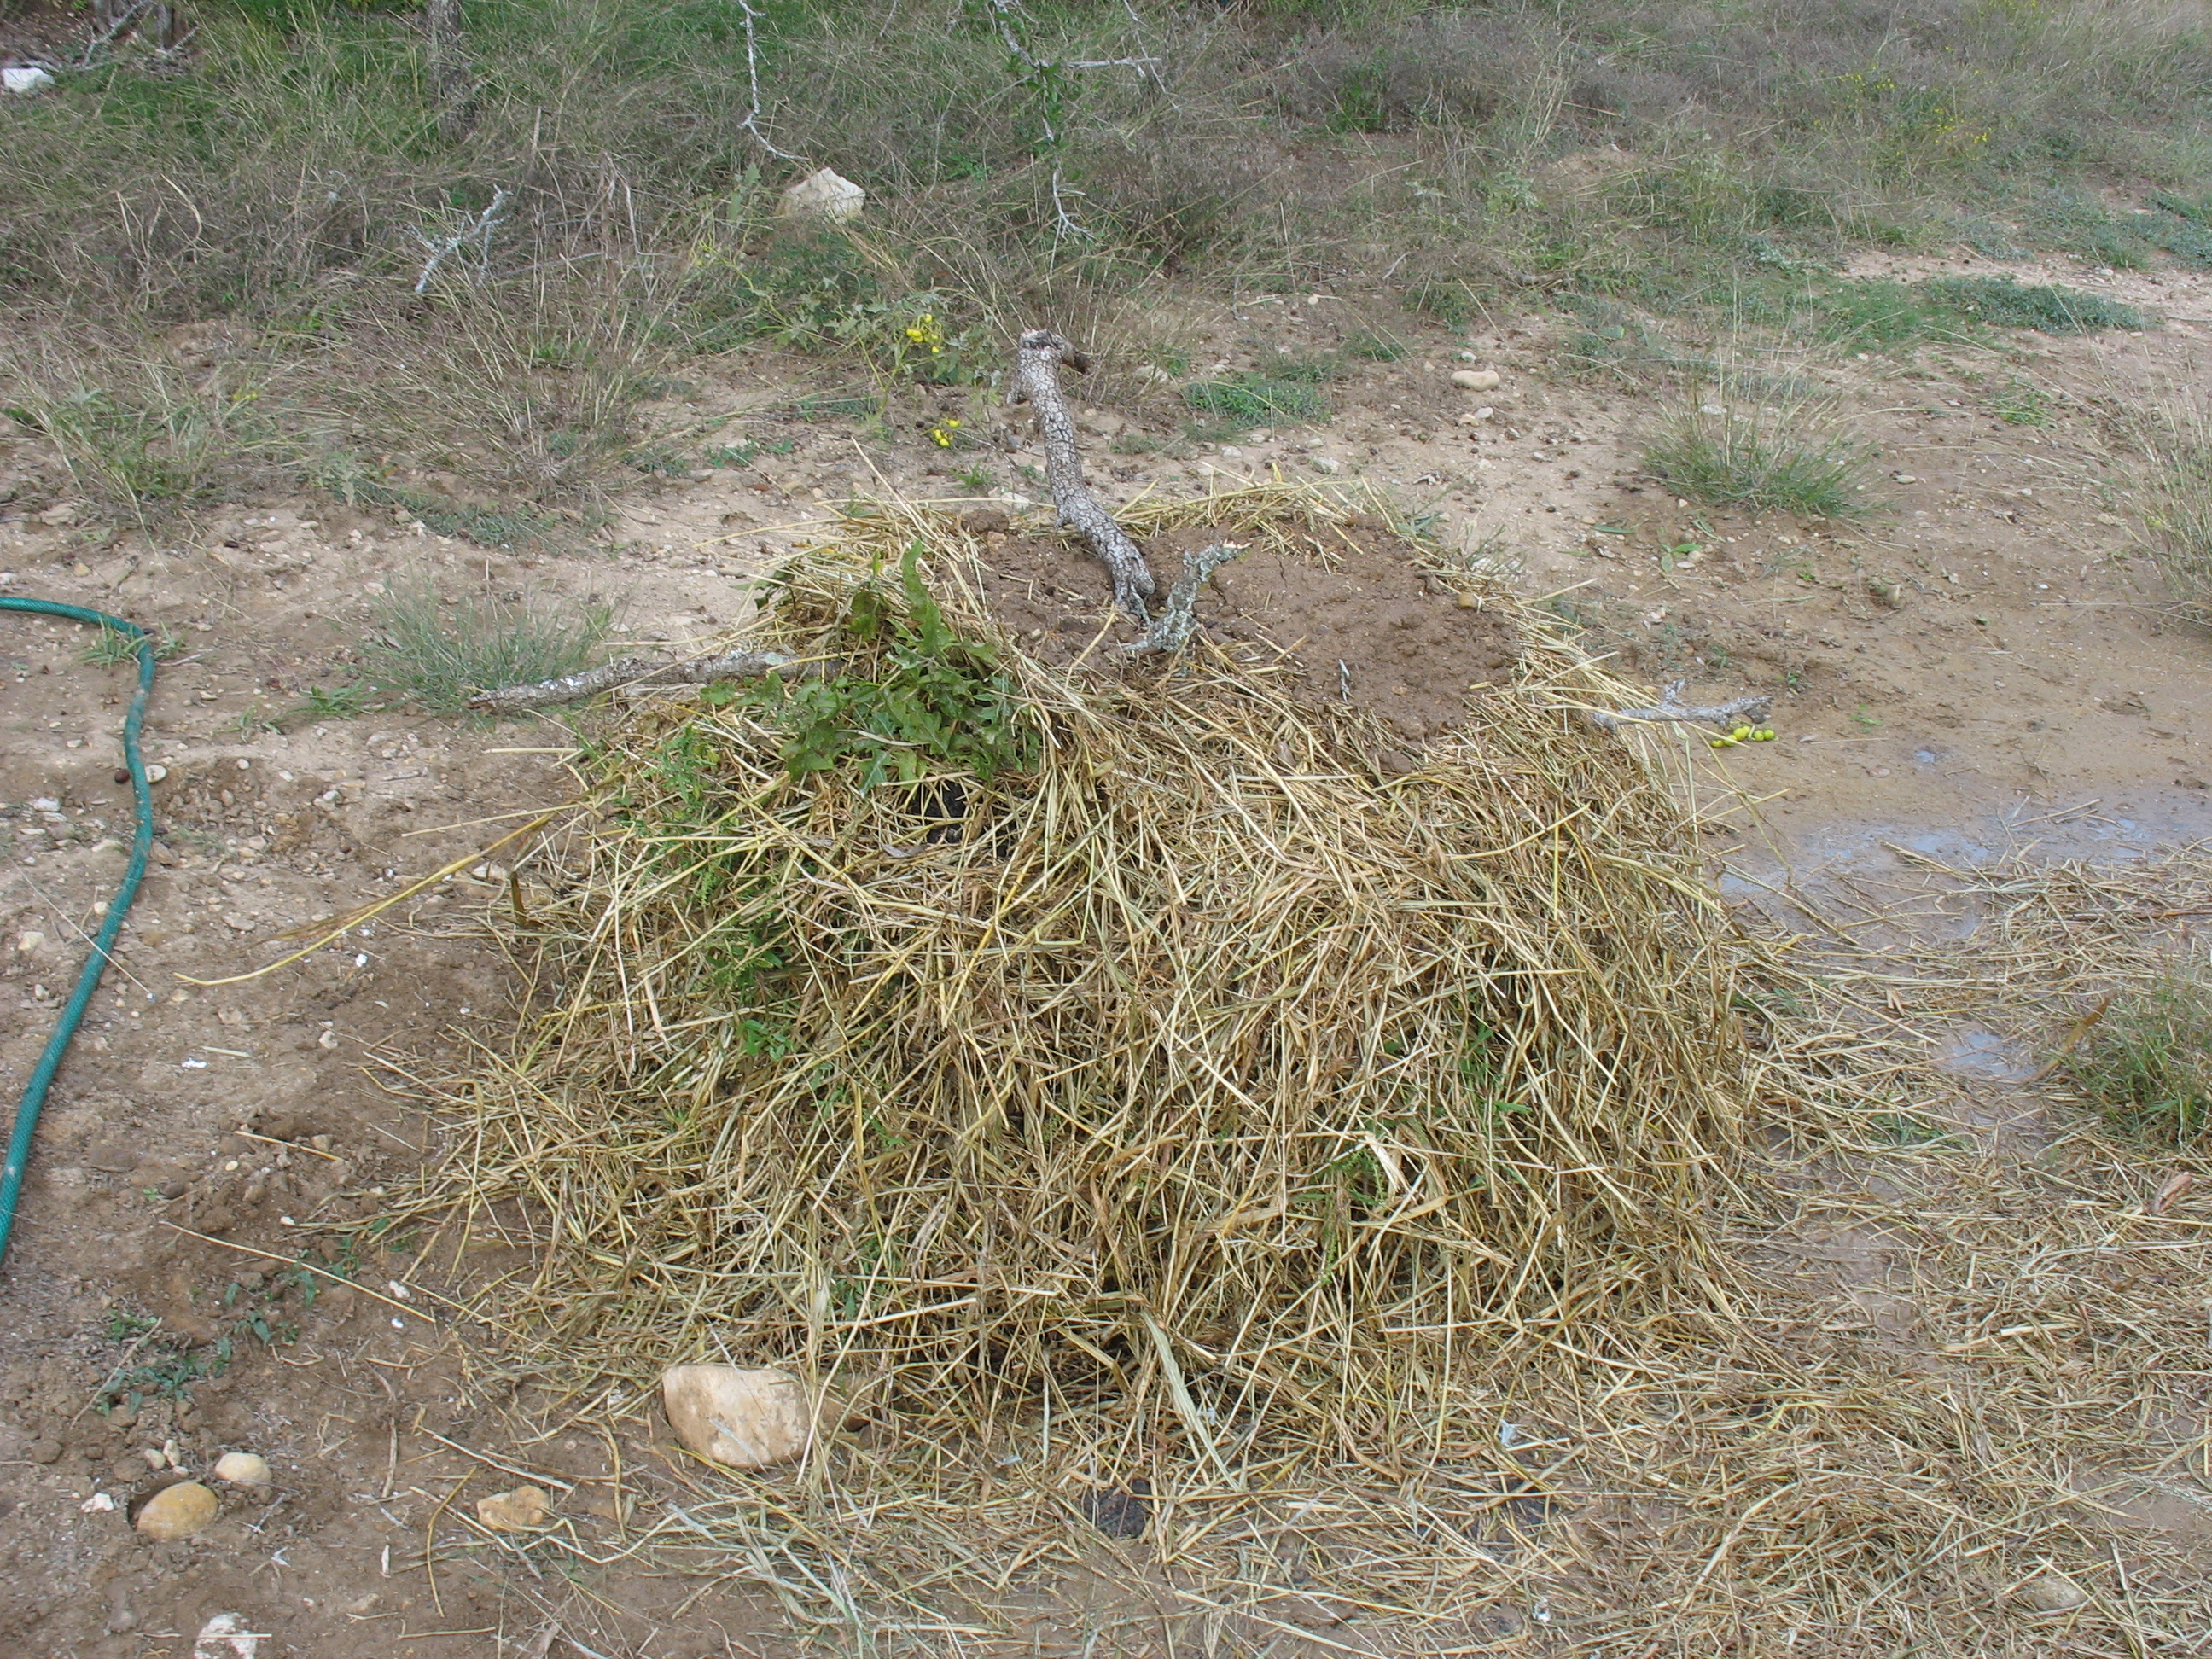
The next step after this one is to cover it with a tarp.  In this step we put sticks to keep the tarp from touching too much of the pile.  Increasing air flow under the tarp ensures aerobic decomposition.

Day 1i

Cover with a tarp and weigh it down.  As you can see a 6 x 8 ft. tarp is too small.

Day 4: Turn the pile.

Day 4a

You can see the decomposition taking hold on day 4.

Day 4b

Another shot from day 4.  You can see some decomposition on the edges of the manure.  Make sure that when you turn your pile that you make an attempt to mix the layers a little bit.

Day 4c

Another photo from day 4.  Put your sticks back in the top after you turn the pile.

Day 6:  Turn the pile.

Day 6

A little bit different shot of  manure with a brown layer from day 6.

Day 6 flour

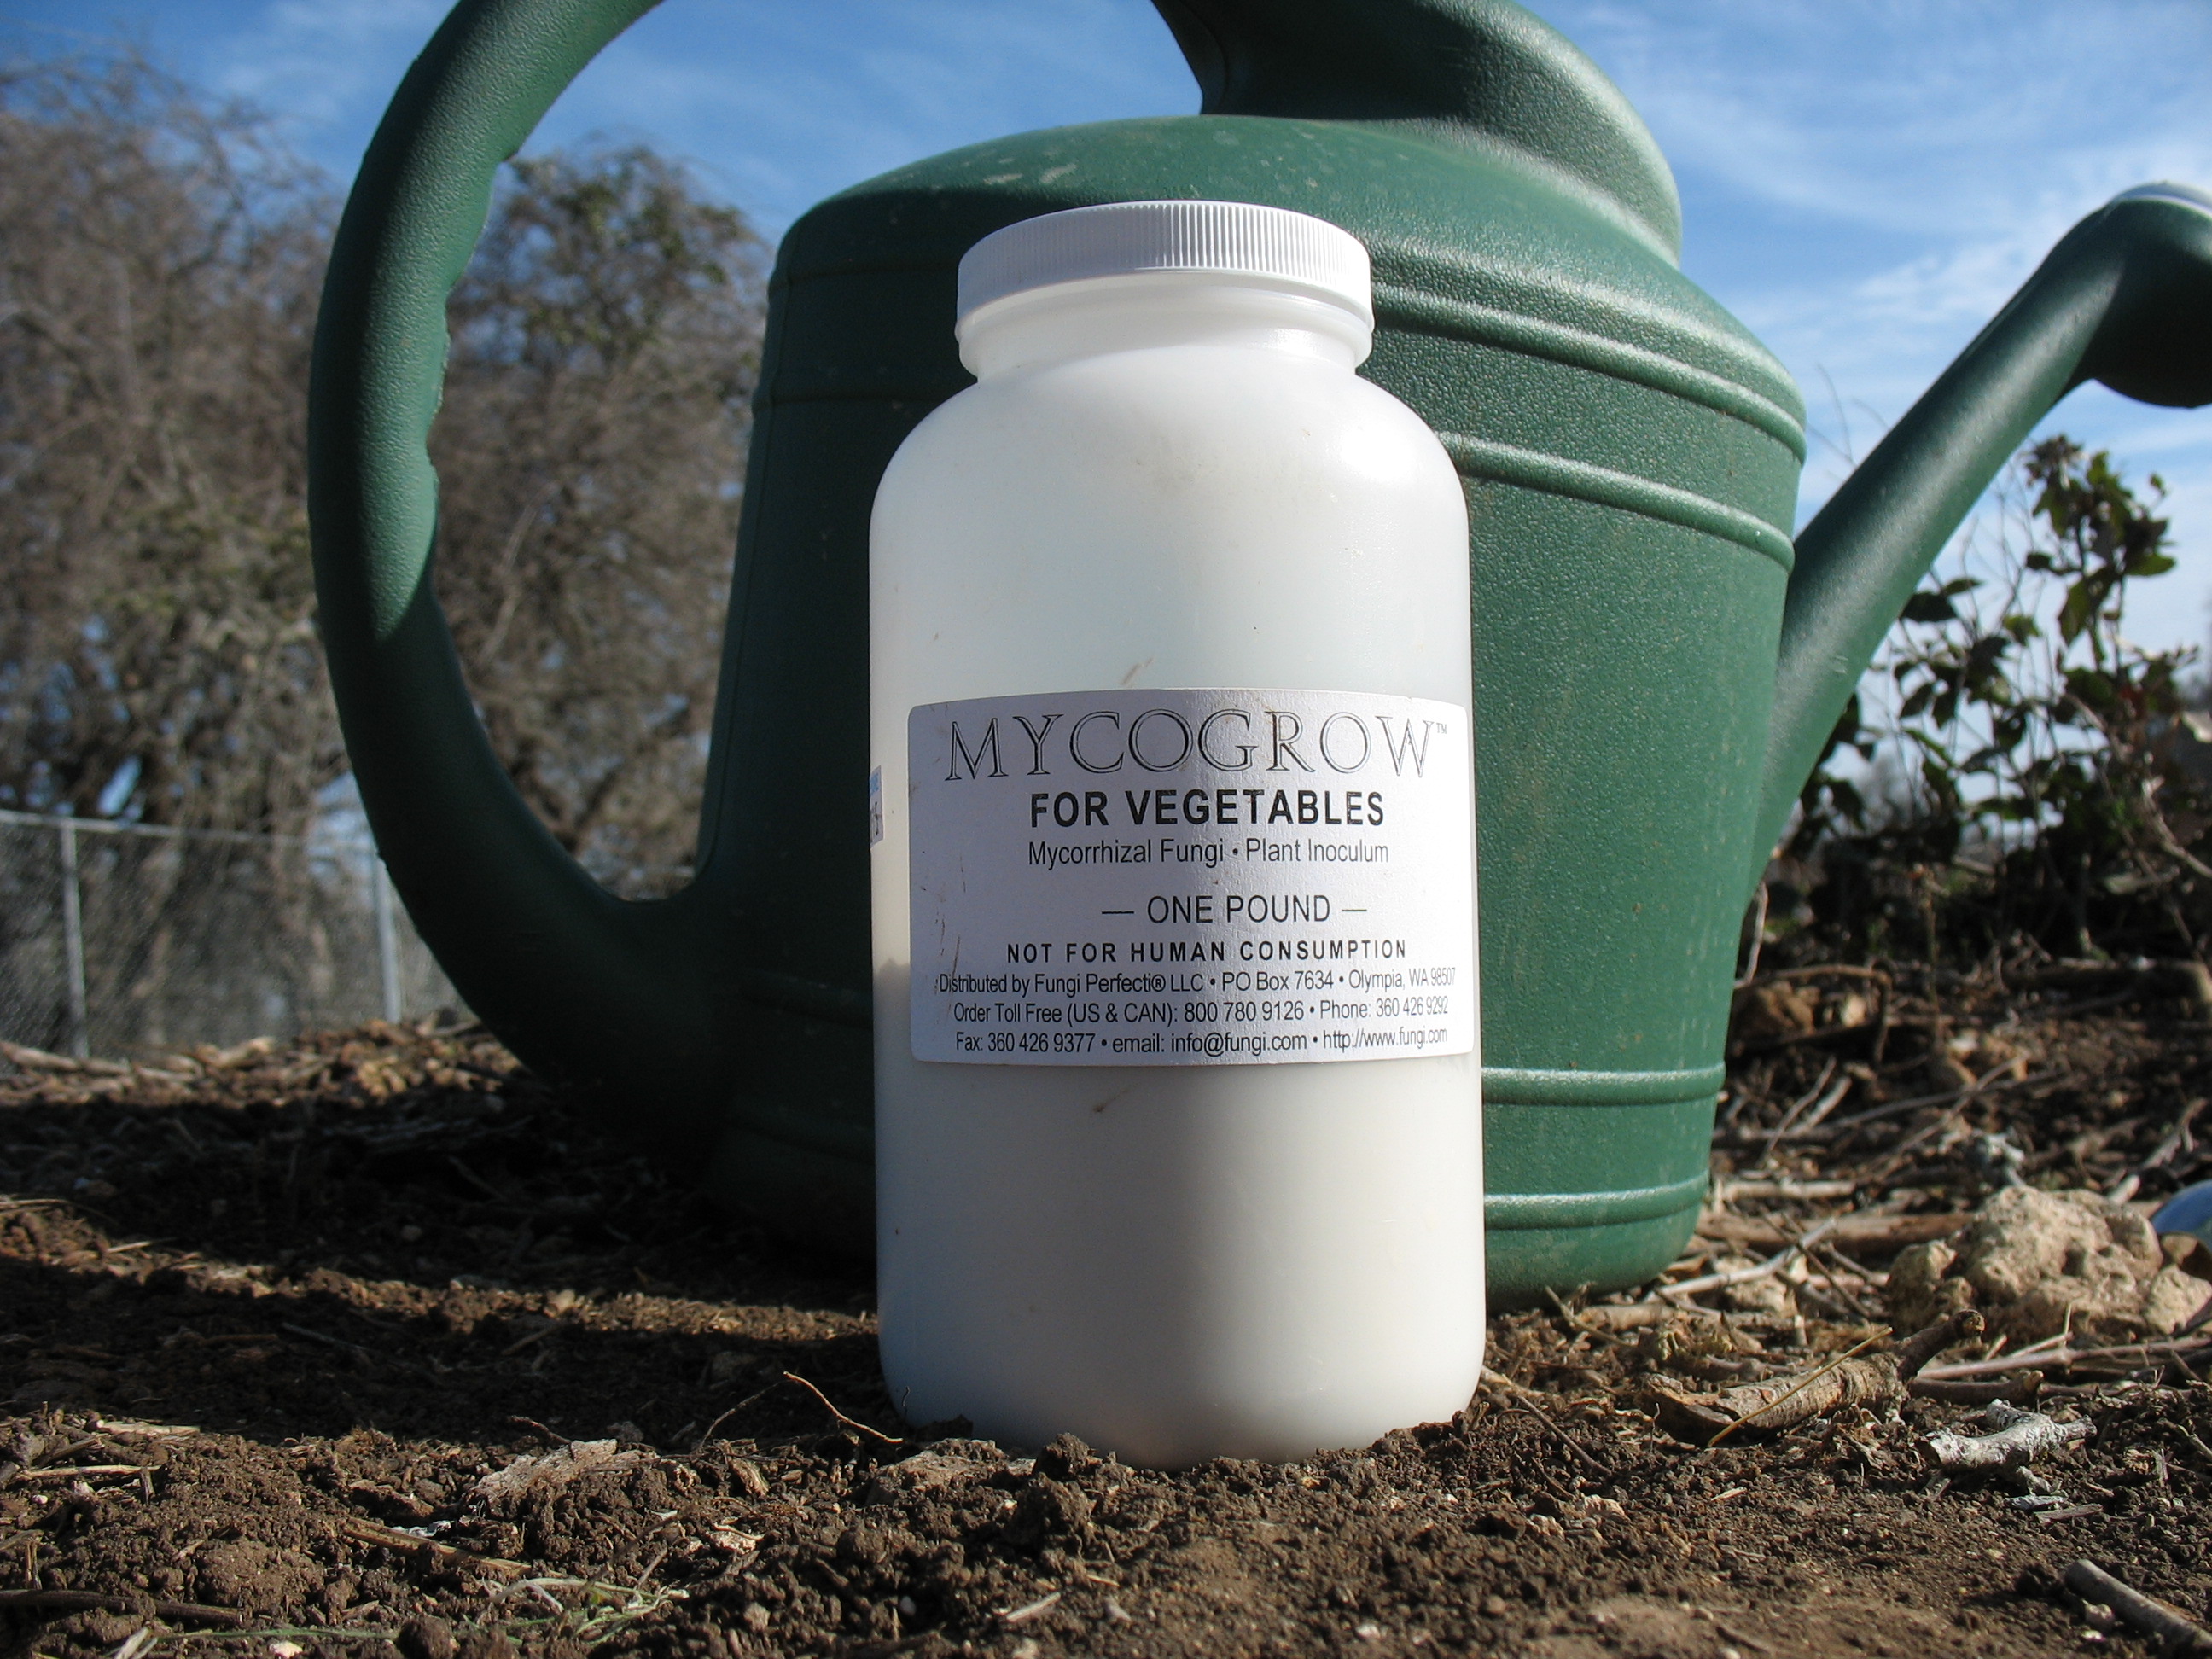
This picture is of a different pile that I started at the same time.  This pile will be specifically for trees and shrubs.  I added a handful of flour each time that I turned the pile.  Flour is food for beneficial fungus.  Trees benefit greatly from fungal interactions in the soil.  It is a necessary function of fungus to exchange starch from the tree for nutrients in the soil.

Day 8:  Turn the pile.

Day 8

You start to see some really good decomposition on day 8.  The pile is darker.  I had to turn the pile at night when I got home so the flash kicked in.

Day 10:  Turn the pile.  No picture on day 10.  I was outside in the pouring rain turning the pile and I didn’t want the rain to damage the camera.  I will have a photo for day 12 since I am actually posting this on day 12 and I will be turning the pile today.

UPDATE 11-24-13

Day 12:  Turn the pile.  I turned the pile.  It was 35 F  outside and raining.

Day 12

The flash obscures the rich dark color, but seen here is the bull nettle less the leaves.  This should continue to break down over the next few days.

Update 2-2-14

Shame on me for not completing this post, but on day 14 we were starting to get some freezing temperatures.

Day 14:  Turn the pile.

Day 14

Day 16:  Turn the pile.

Day 16

Decomposition had really slowed down at this point.  The temperature kept dancing around 33F to 35F degrees.  It was rainy too, so the pile kept moist.

Day 18: Turn the pile.

Day 18

You can see here that the pile had almost completely froze.  I will try again in the spring time.  I will work another series of pictures and post again.


Leave a comment

Urban Permaculture Design Course

On October 15th to 20th, 2013 I attended an Urban Permacuture Design Course at Jack Spirko’s property.  Jack Spirko is my inspiration to get into permaculture.  Jack’s website is http://www.thesurvivalpodcast.com.  The teacher for the course was Nicholas Burtner.  Nicholas’ website is http://www.workingwithnature.org.  This was the second time I visited Jack’s homestead.  The first time was back in May of 2013 for a “woody bed” workshop.  The purpose of the urban workshop was to take a portion of Jack’s homestead and use it to simulate the limited spaces available to design in an urban or suburban landscape.  Placing confines or limitations on a design made this a challenging and enjoyable experience.

We spent two days of lecture followed by a day to design.  The lecture was a relaxed atmosphere with teaching that really engaged the audience.  I enjoyed material that reviewed what I learned in my PDC as well as new material and experiences unique to Nicholas.  At the end of the design day we presented our designs.  We learned how to present a design in a professional manner that required us to use our skills to communicate with Jack and Nicholas role-played as customers.

A true testament to Nicholas as a teacher was his ability to recognize that his students had to learn a lot of material in a short amount of time.  There were also about 8 of us that completed a PDC and the other students would have been overwhelmed individually.  Since there were over 30 people he had us break into groups of 5 to 6.  This allowed us to pool our creative resources and come up with some really unique designs.  The best part of the whole course was watching the amazing ideas produced by each group.  Every design had one or two elements that stood out from the rest.  A truly memorable experience with good food, good people and good fun.  I also got to meet Jack’s intern Josiah Wallingford.  It wouldn’t have been a successful event without Dorothy Spirko, Jack’s wife.

I was happy to have earned my certification.

Image