First, apologies for sporadic posting. I have been very busy with work, the homestead and permaculture training. Along the way I have been keeping notes and taking pictures for future postings.
This post is about my contour wood core garden beds that I started construction on in September of last year. This area was designed to be a series of five rows. Each row of beds spaced three feet wide with another three feet between the next row. I wanted to have enough room to get a wheel barrow down the paths between each bed. This post will cover the construction of the beds and I will follow up with another post in the future on plantings and establishment of the beds.
First, why are we burying wood logs in the ground? What purpose will that serve? It’s all about Hugukultur. A system of growing beds with a buried wood core. A forest grows on a fallen forest. My goal here is to simulate that, but underground. Hugukultur is above ground and excels in cooler climates. Here in Texas, I need to have resiliency against drought and sporadic rain fall. Buried wood core creates a water reservoir for plants to interact with. As the wood core decays over many years the plants are able to benefit from this process through partnership with beneficial fungi. The fungi form a circulatory system in the ground that the root system of the plants can tap into. The plants will exchange starch for nutrients with the fungus as well as enjoying a wicking effect from the saturated wood core.
Second, an explanation of what contour is. These beds are “on contour”. That means that they are level along their complete length. To achieve this, you need a surveying level. Either an “A” frame or an electronic laser level. I used a laser level. A laser level is a self leveling machine that sends out a laser spinning in 360 degrees horizontal to whatever you mount it to. In this case, it is mounted to the ground via a tripod. It doesn’t matter if you are on uneven ground the machine will calibrate and level itself out. The other part of the machine is a measuring stick that has a laser sensor mounted to it. As you walk uphill and downhill from the level the laser will hit the sensor making it beep. This tells you that you found the same elevation from where you calibrated the level at on the tripod.
The goal is to have the most uphill bed on contour. As water flows from uphill to the first bed it will fill it up like a sink and then it will soak downhill to the next bed. The next bed downhill will not necessarily be on contour, but it will be parallel with the first uphill bed. The next bed will be soaked from the second bed uphill from it and so on. So your first bed that is on contour will be where you will want to plant your water loving plants like melons. This first uphill bed is on contour so it will harvest water passively from the land around it. The next downhill bed will be planted with progressively less water loving plants. This second bed is more of an over flow bed from the first one. The third bed will catch over flow from the second and so on.
An illustration will demonstrate this plan.

How do you find your starting point? That’s easy, it’s wherever you want it to be. Remember that the laser level spins up and calibrates itself to level. The measuring stick with the sensor will find that same elevation. In my case, I simply walked a little east of the level and the sensor beeped at me. That was my starting point. I put down a marking flag and moved further east and slightly up. I made the bed about 25 ft. long marking every 5 ft. or so. I took some marking paint and sprayed a straight line from the first flag to each additional flag. Then I used a tape measure to mark 18 inches above and below this line. The solid line with the flags was to be the middle of the bed and the markings above and below were to be the edges of the beds.
From the middle of the first bed I measured 6 ft. downhill. This was the starting point for the second bed. This bed would have a break in the middle as reflected in the below illustration. Again, I measured 18 inches above and below this second solid line. These were to be the edges of the second row. The third row had two breaks making three beds. The fourth row had two beds and the last row on the downhill side was one continuous row. I had a couple of friends come out to my place during this process. They got to learn how a laser level worked and helped me mark the beds.
An illustration showing my paint lines.

Here is a picture of the land with spray paint markings.

Here is a picture of the first bed being dug out. I used the same machine that I dug the swale with.

Here is a picture of the 1st row bed and the second row of 2 beds.

Finished excavating all 5 rows. Red lines are added for emphasis. Please excuse my crude art skills with an editor. The perspective is a little skewed with the angle I shot the photo.

Fast forward a couple of months and after I completed the swale.
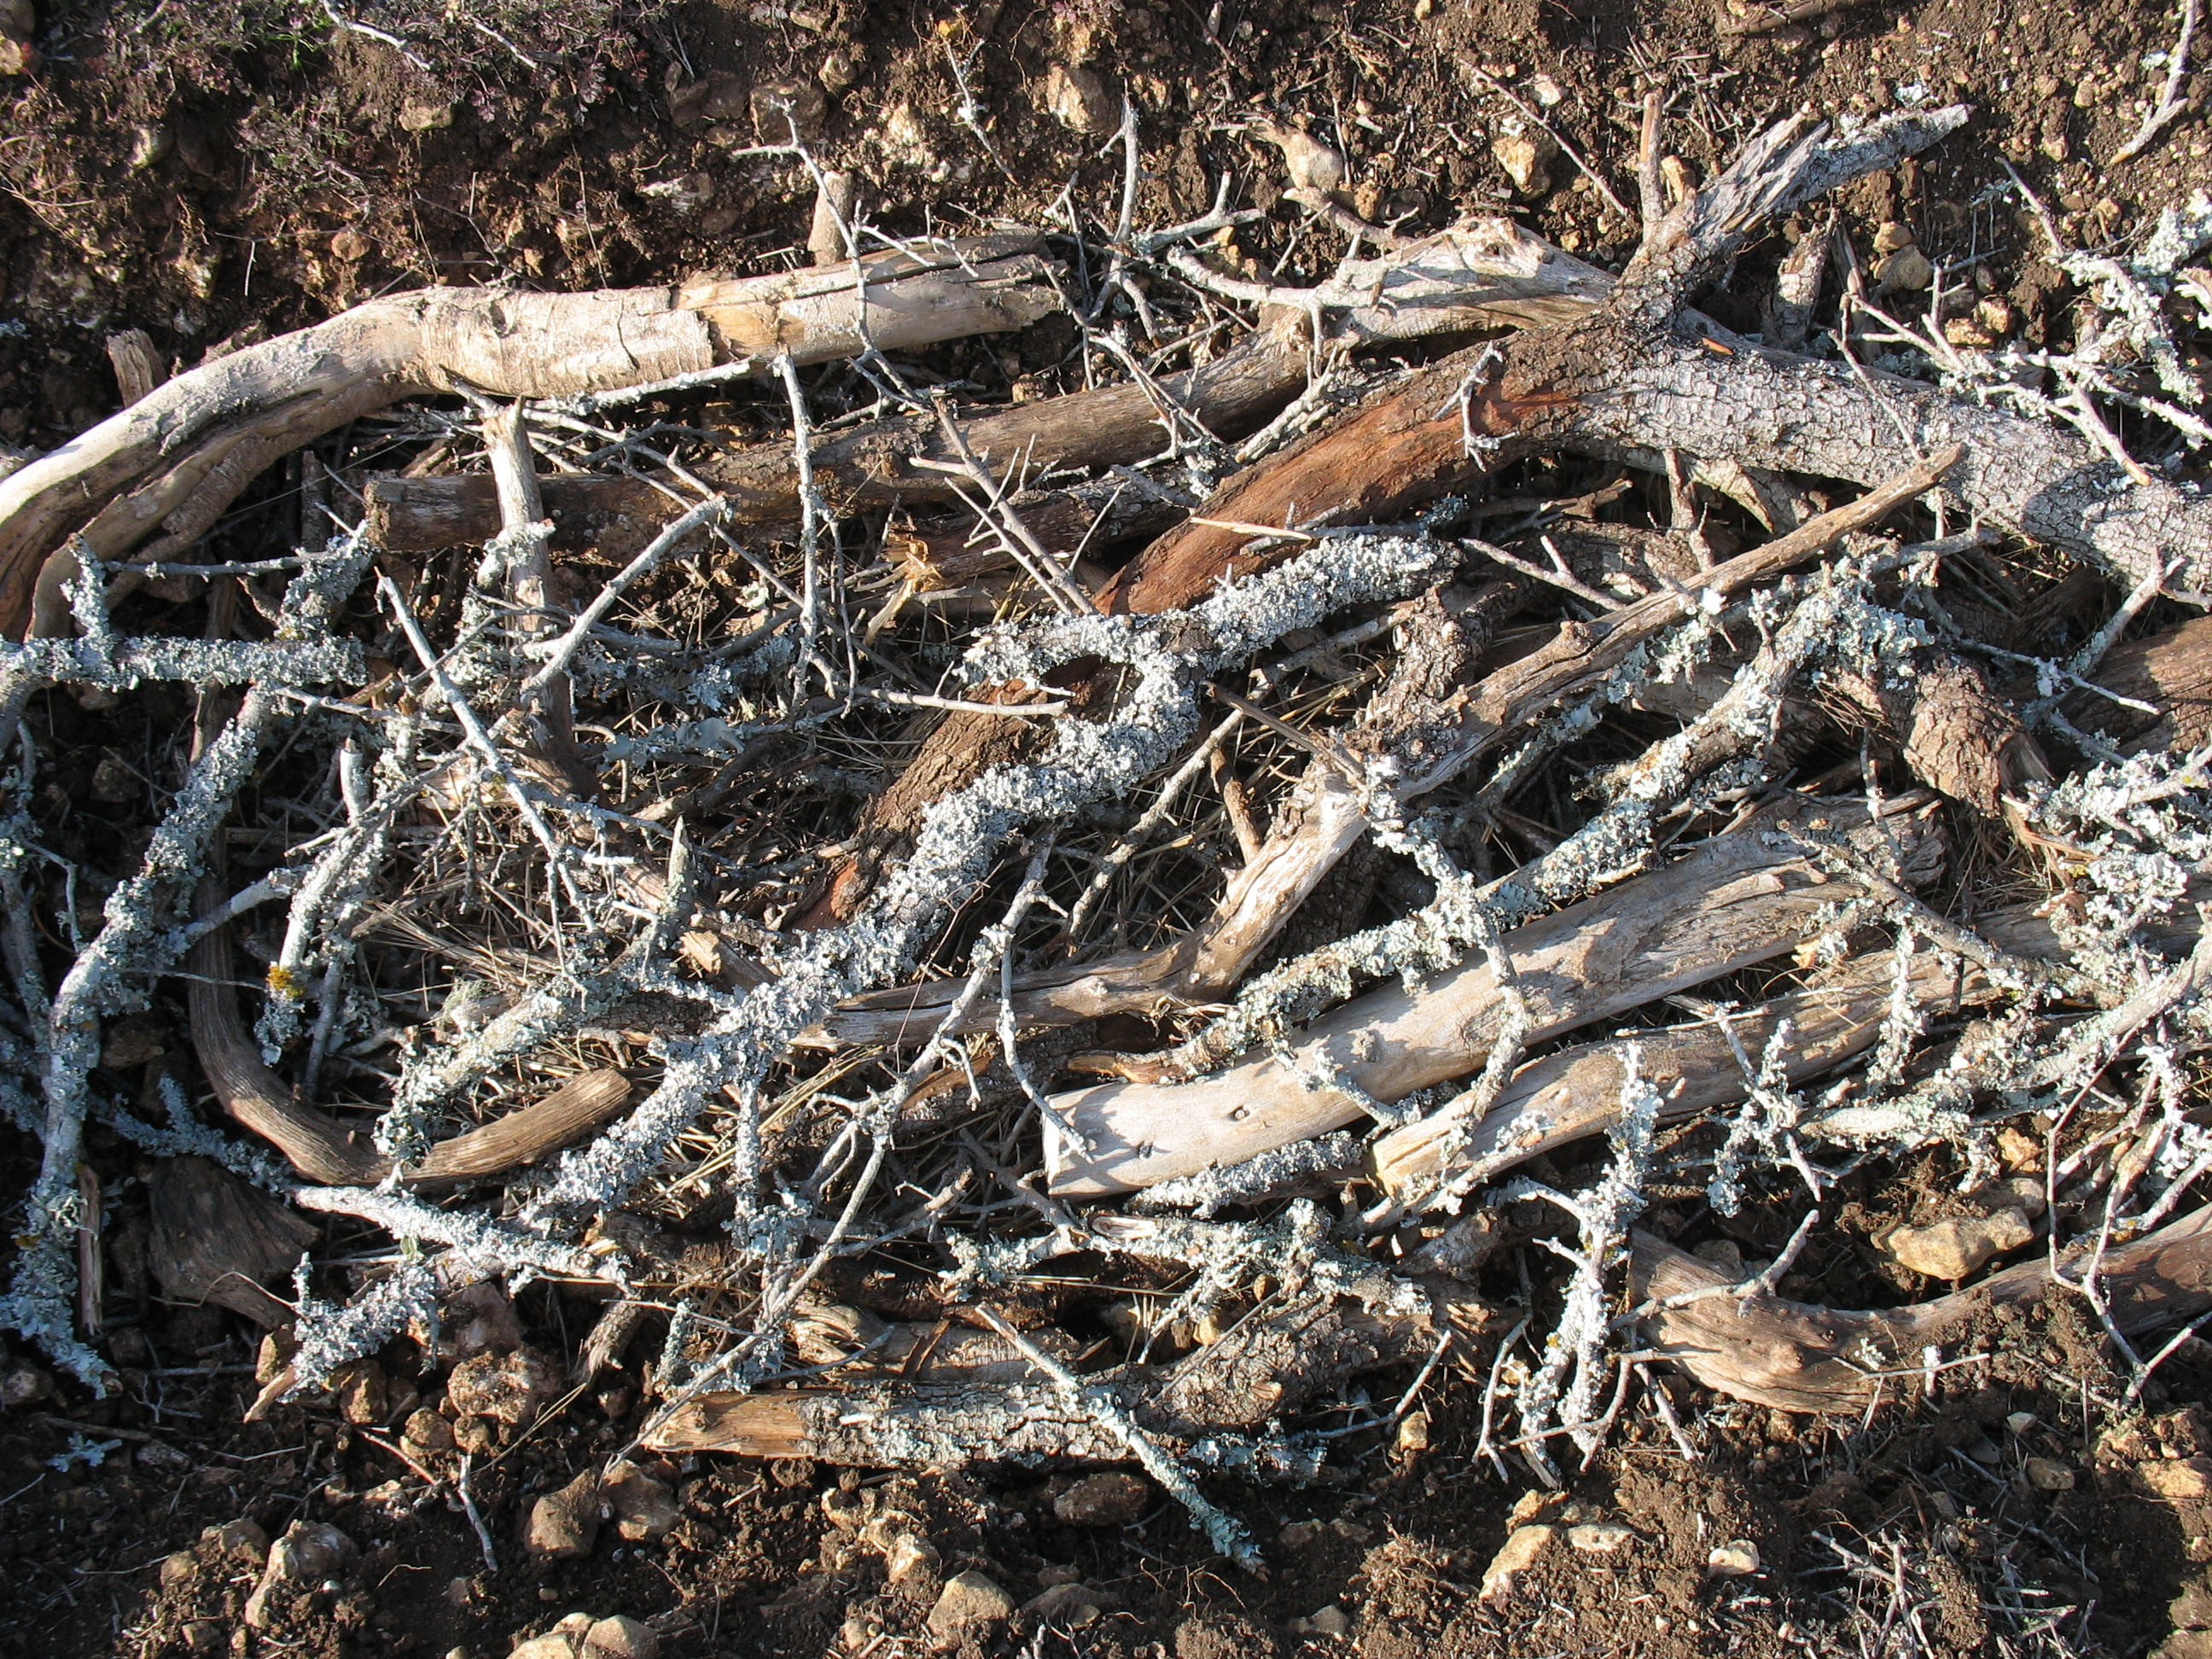
Now the fun part. Moving wood logs to fill up the holes. The depth varied from 8 inches to 18 inches deep depending on how far I could dig down before I hit chaleche. Chaleche is basically ocean bed, a formation of calcium carbonate bonding other rocks and sedimentary material. It is extremely difficult to penetrate even with the excavator.
Here is a picture of one of the beds with logs in it.

From there I put branches and other small twigs to take up some room. The goal here is to offer media that the fungus can breakdown in varying stages. Mulch, twigs, branches and then logs. Of course you need to put it in the hole in the reverse order.
Here is a picture of the bed with branches and twigs.

Add in the mulch to fill the gaps between the branches and twigs.

Another view of the last bed on the downhill side now ready for soil.

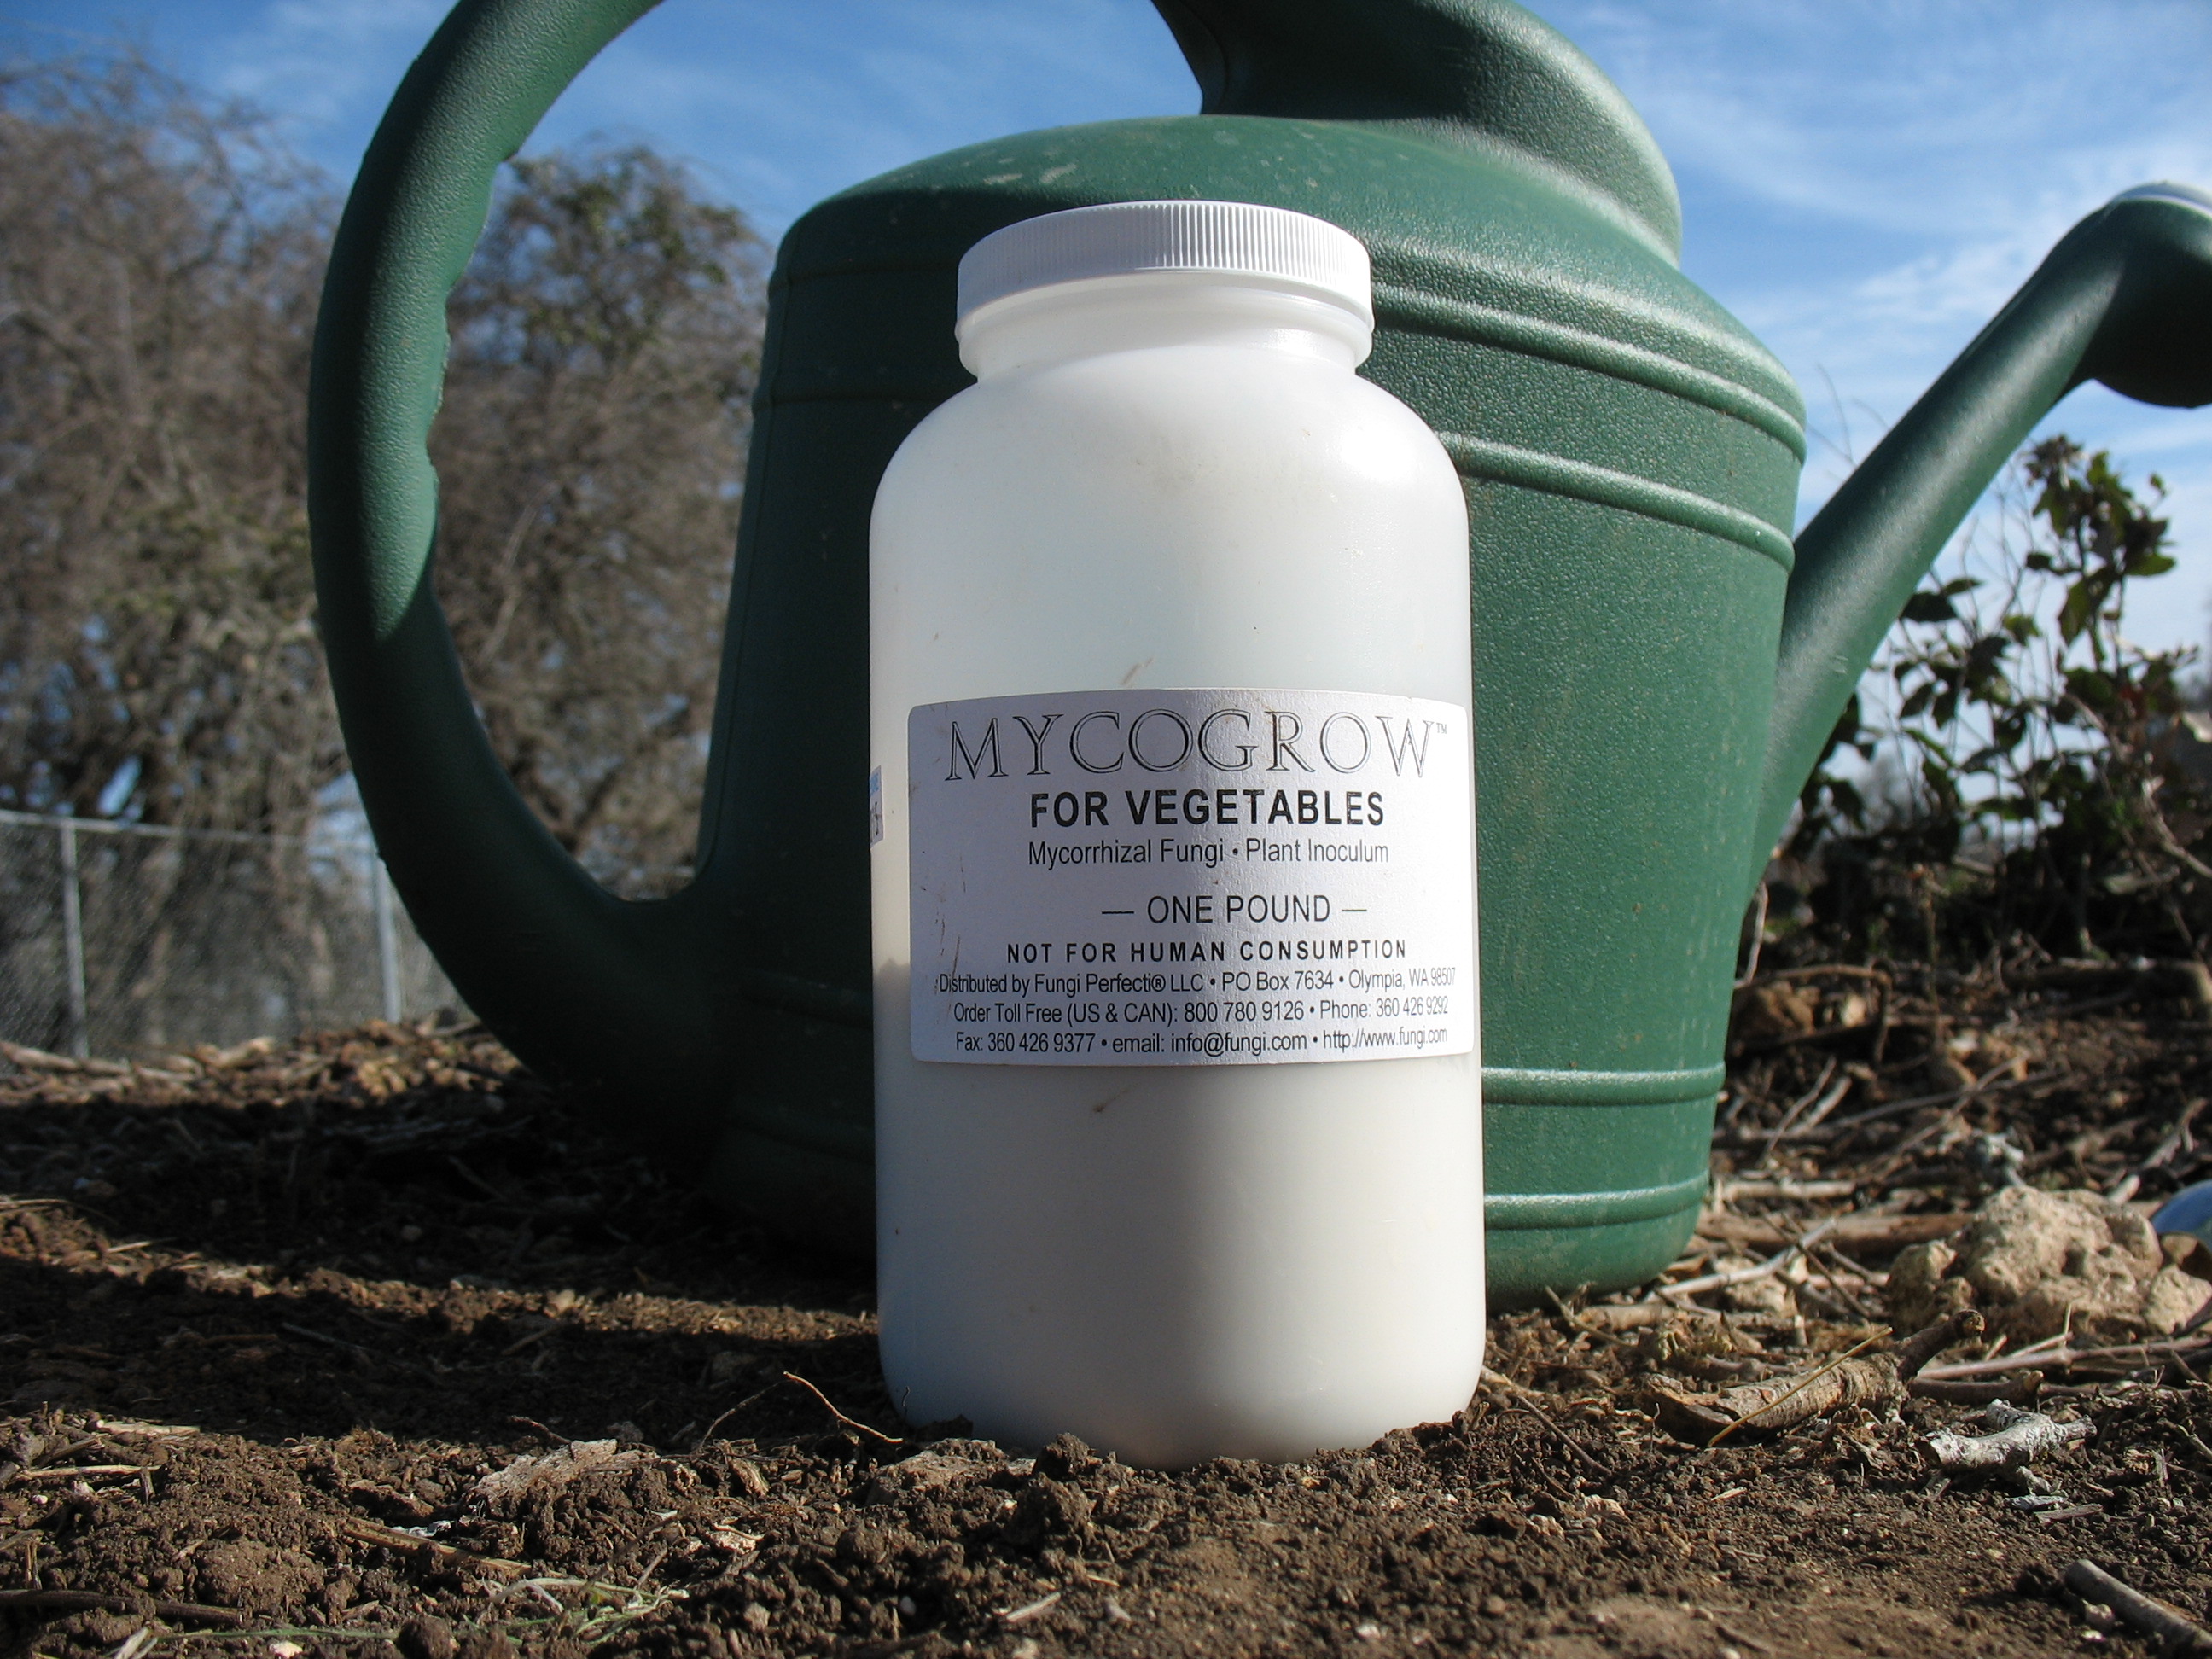
The next step is to add the fungus. We inoculate the wood with a beneficial Mycorrhizal fungus. I got my fungus from http://www.fungus.com. One heaping tablespoon per each gallon is what I used. One gallon was enough to do a 10ft. by 3ft. area. I did my best to saturate the mulch with the mixture.
Mycogrow is the name of the product.

Next step is filling the beds up with soil. My soil that I removed from this garden area was littered with rocks and chaleche. This was also my first time running a mini-excavator and I didn’t think of removing just the topsoil first and putting it in a separate pile. I learned my lesson with the swale though. By the time I got to this phase I had plenty of soil left over from the swale.
A pile of topsoil and subsoil from the swale project.

Simulating nature I moved the subsoil to the beds first.

Another view of a bed with soil. The first bed on the uphill side.

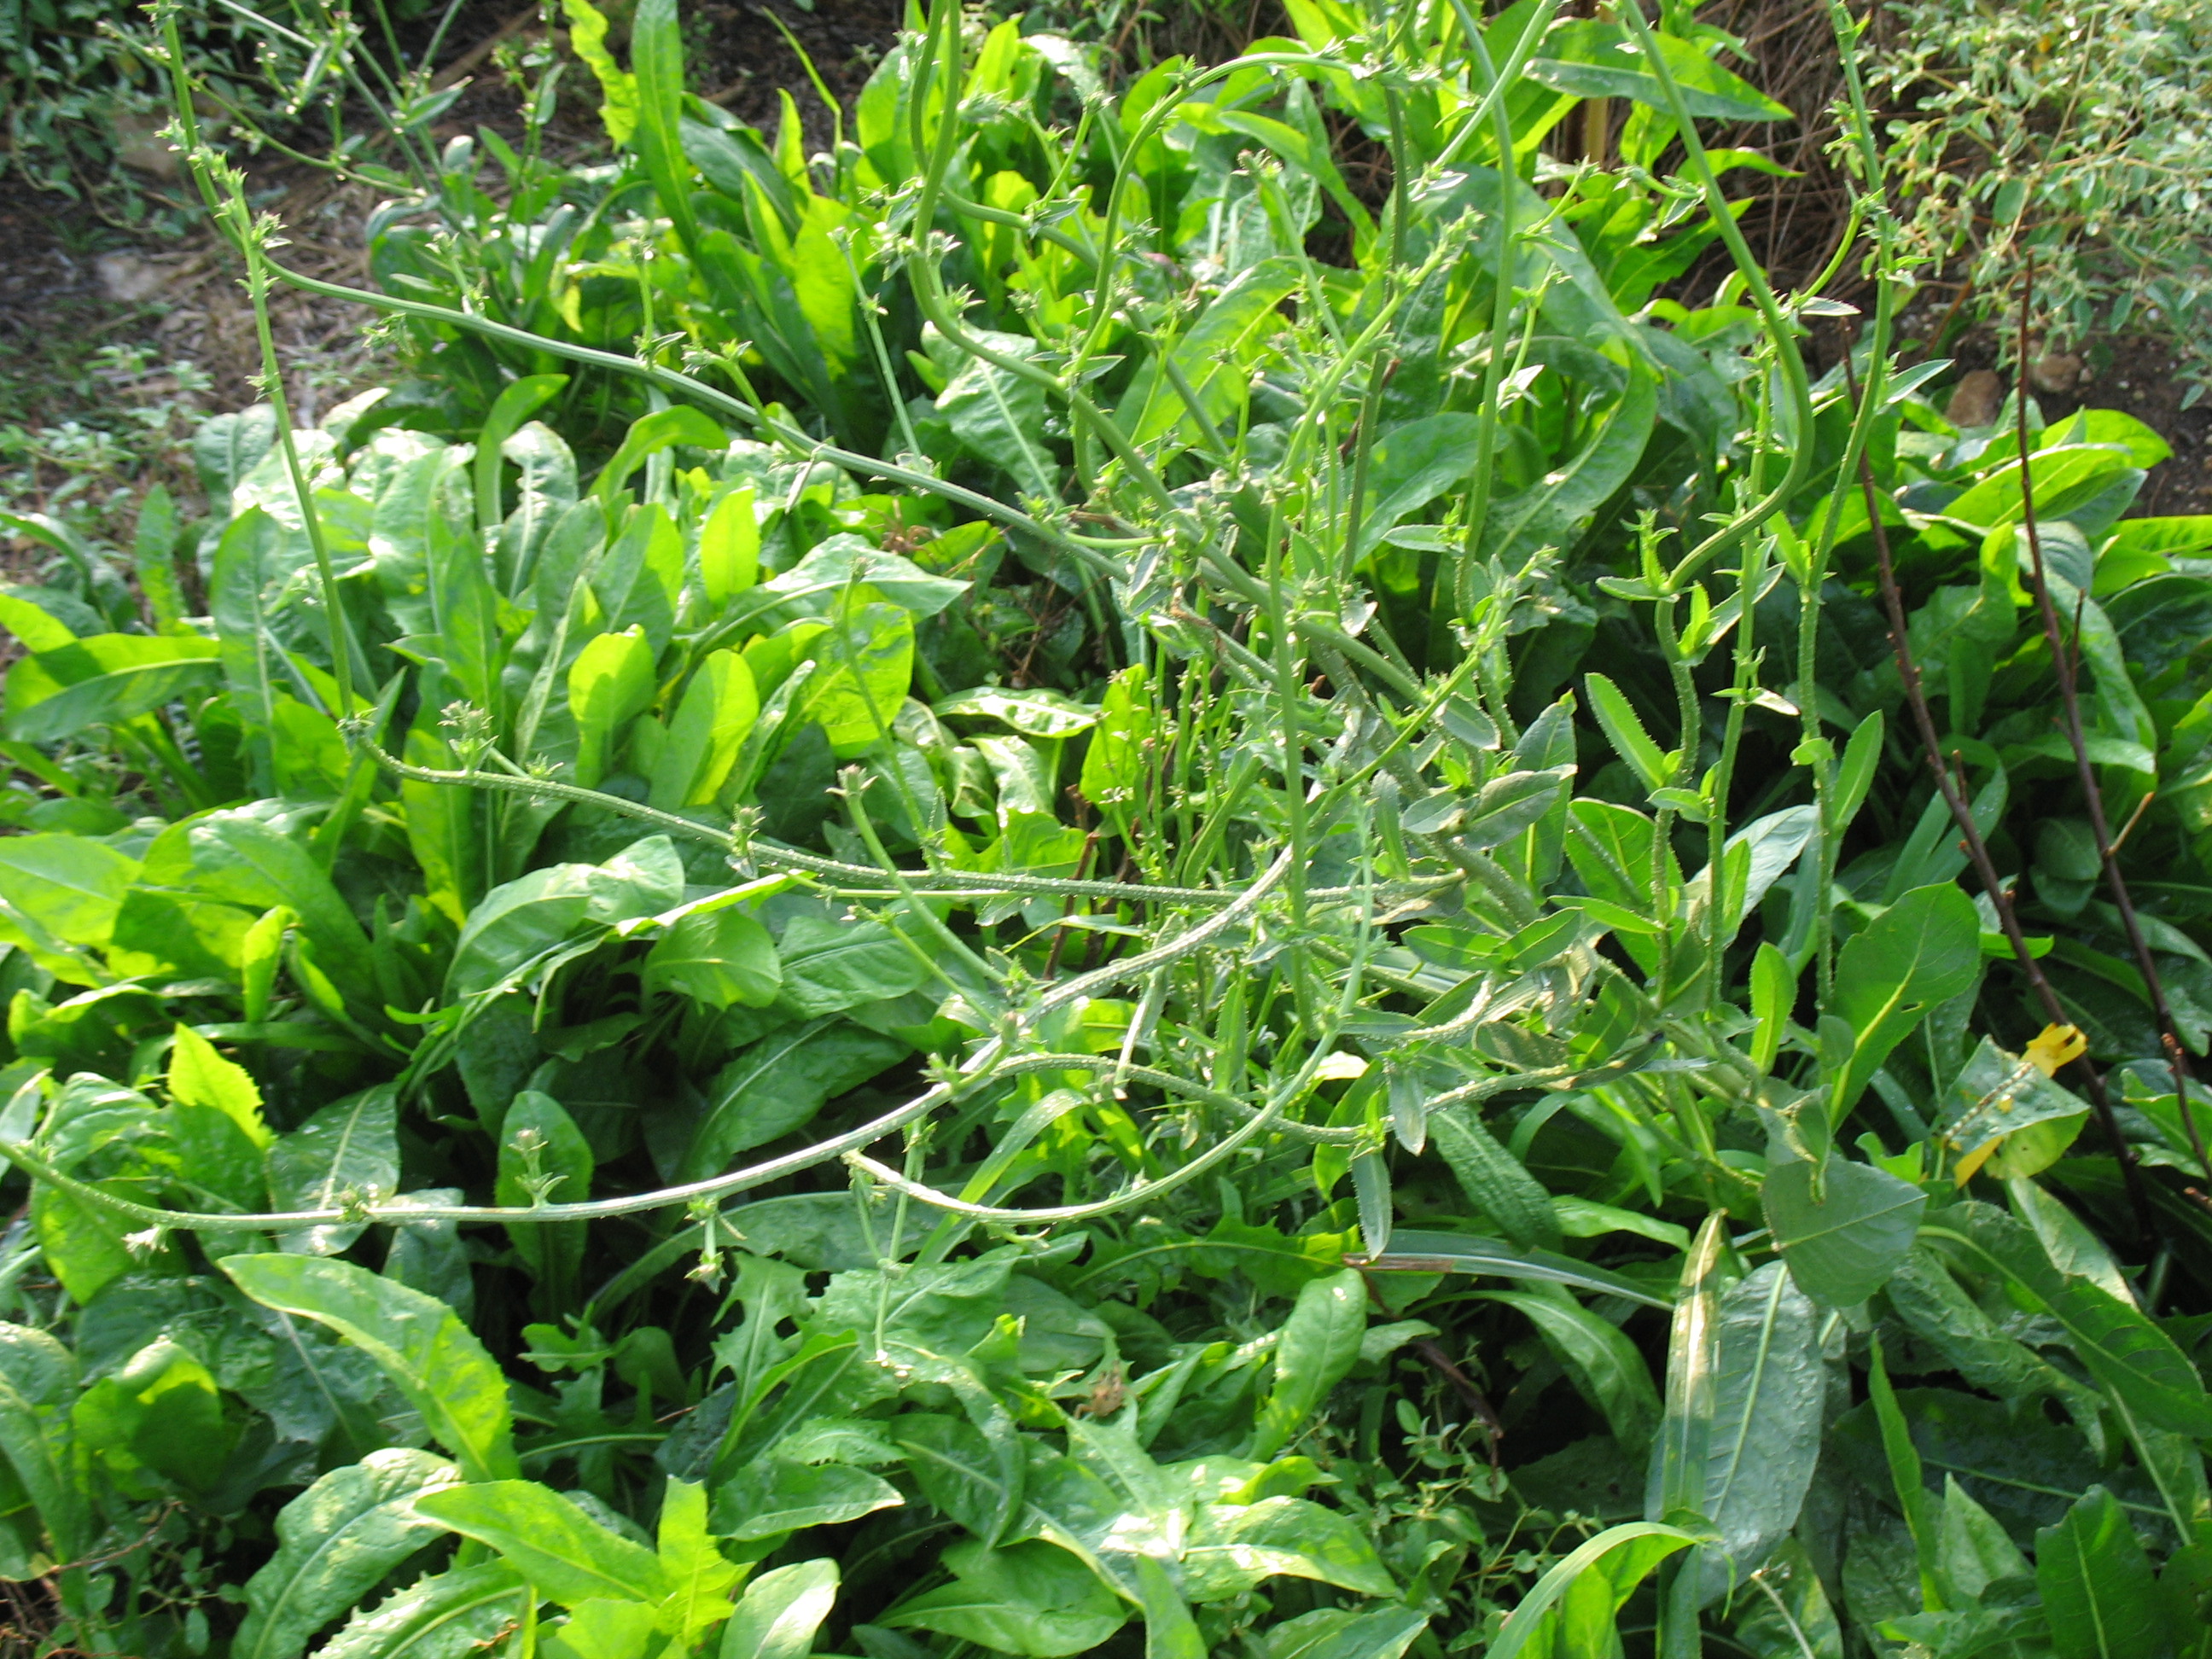
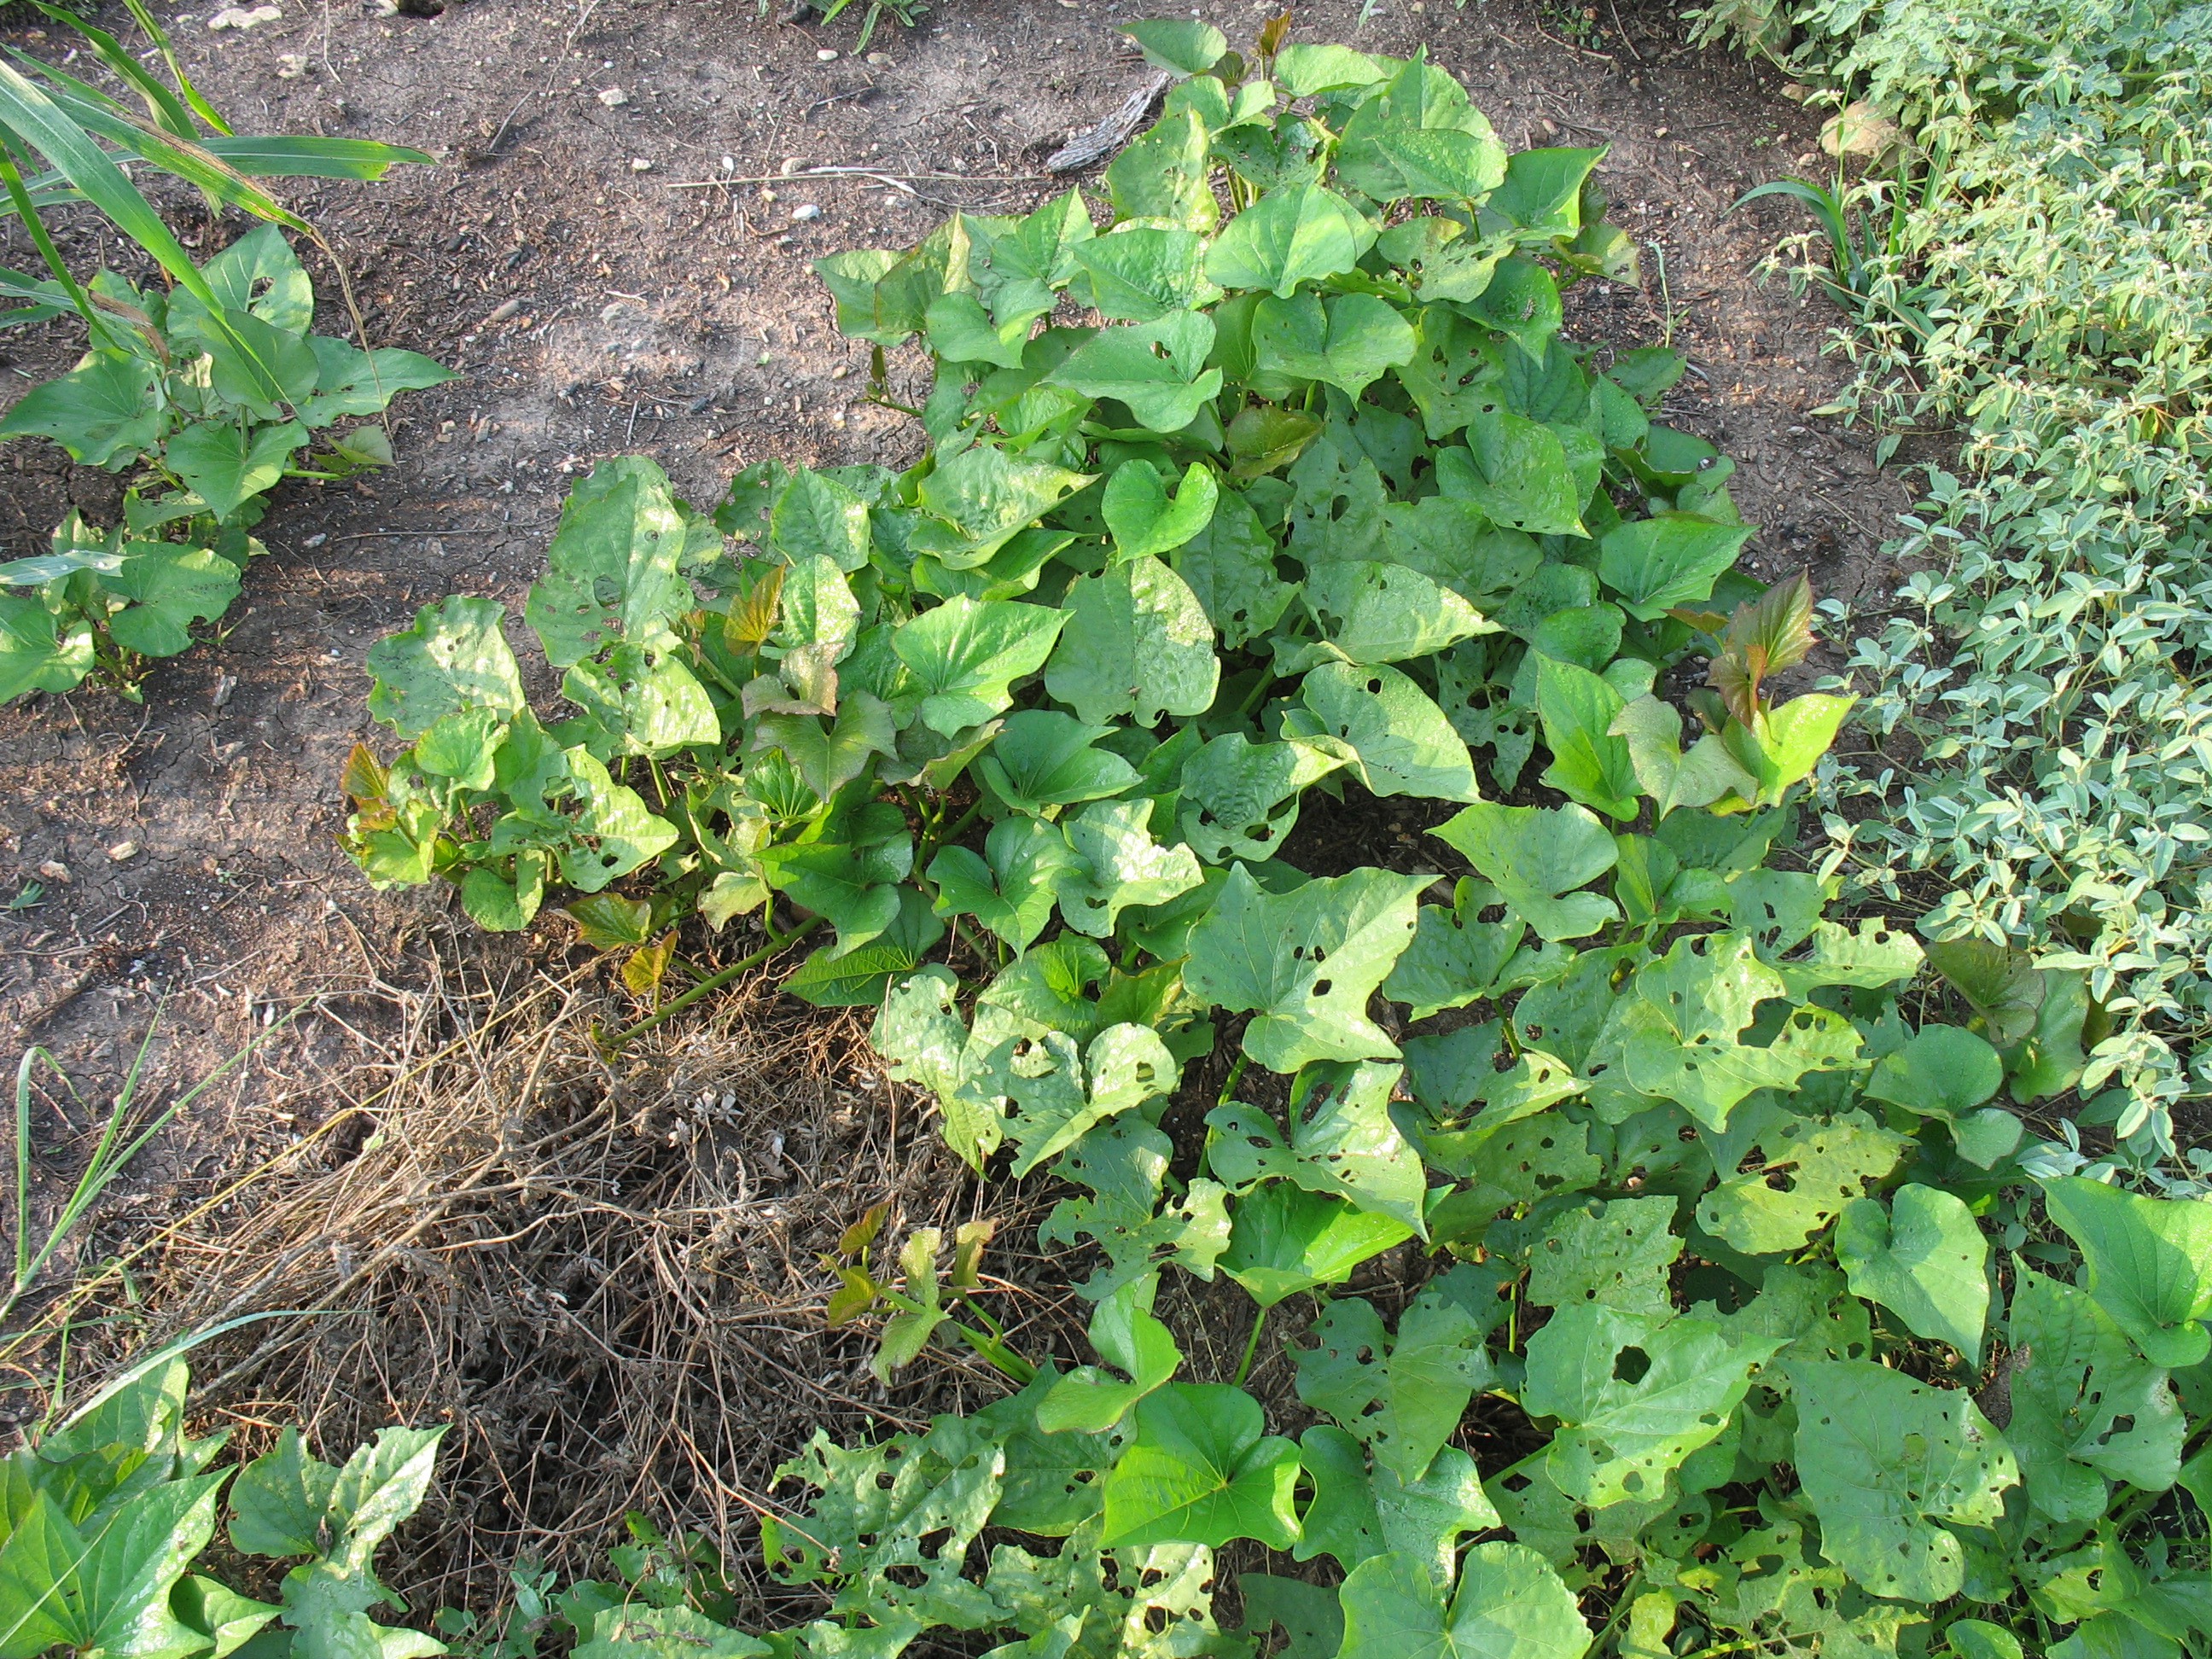
After filling up all the beds I worked on combining the topsoil from the swale project with compost. This was the last step for this phase. Some of the beds would be mulched and others would have living mulch. I will follow up with a post on plantings.
A big thanks to Jack Spirko the http://www.thesurvivalpodcast.com. I went to a workshop at his home in May of 2013. This project is taken from what I learned there. His teachings have been instrumental in my projects and he is the reason for my inclusion of permaculture in my life.