
I have been continuing to work on my sheet mulch project in my front yard. This post is to update what I have completed on the portion closest to the house. As in my original post http://wp.me/p448mB-2g I have a detailed explanation of what sheet mulching is.
This photo shows the cardboard laid out in the area. I completed the first step prior to taking this picture. That step was to remove all the plants and make them the 1st layer.

In the above picture I used paperboard sheeting that was left over from the house build. This paperboard is used to hold insulation to the walls and is super tough. It also fills a large area. The next step in the process was to add compost. I should have used more than what I did. This process has taught me how much material that I need for a project this size. You can also see in the background the 1st area that I sheet mulched. This area still needed to be completed. Both areas being experiments, I used two different types of straw. A finer straw in the first area and a coarse straw in this updated area.
Remember to water between each phase. This next photo is where I laid compost out as the next layer.

Next step is to put down a layer of straw.
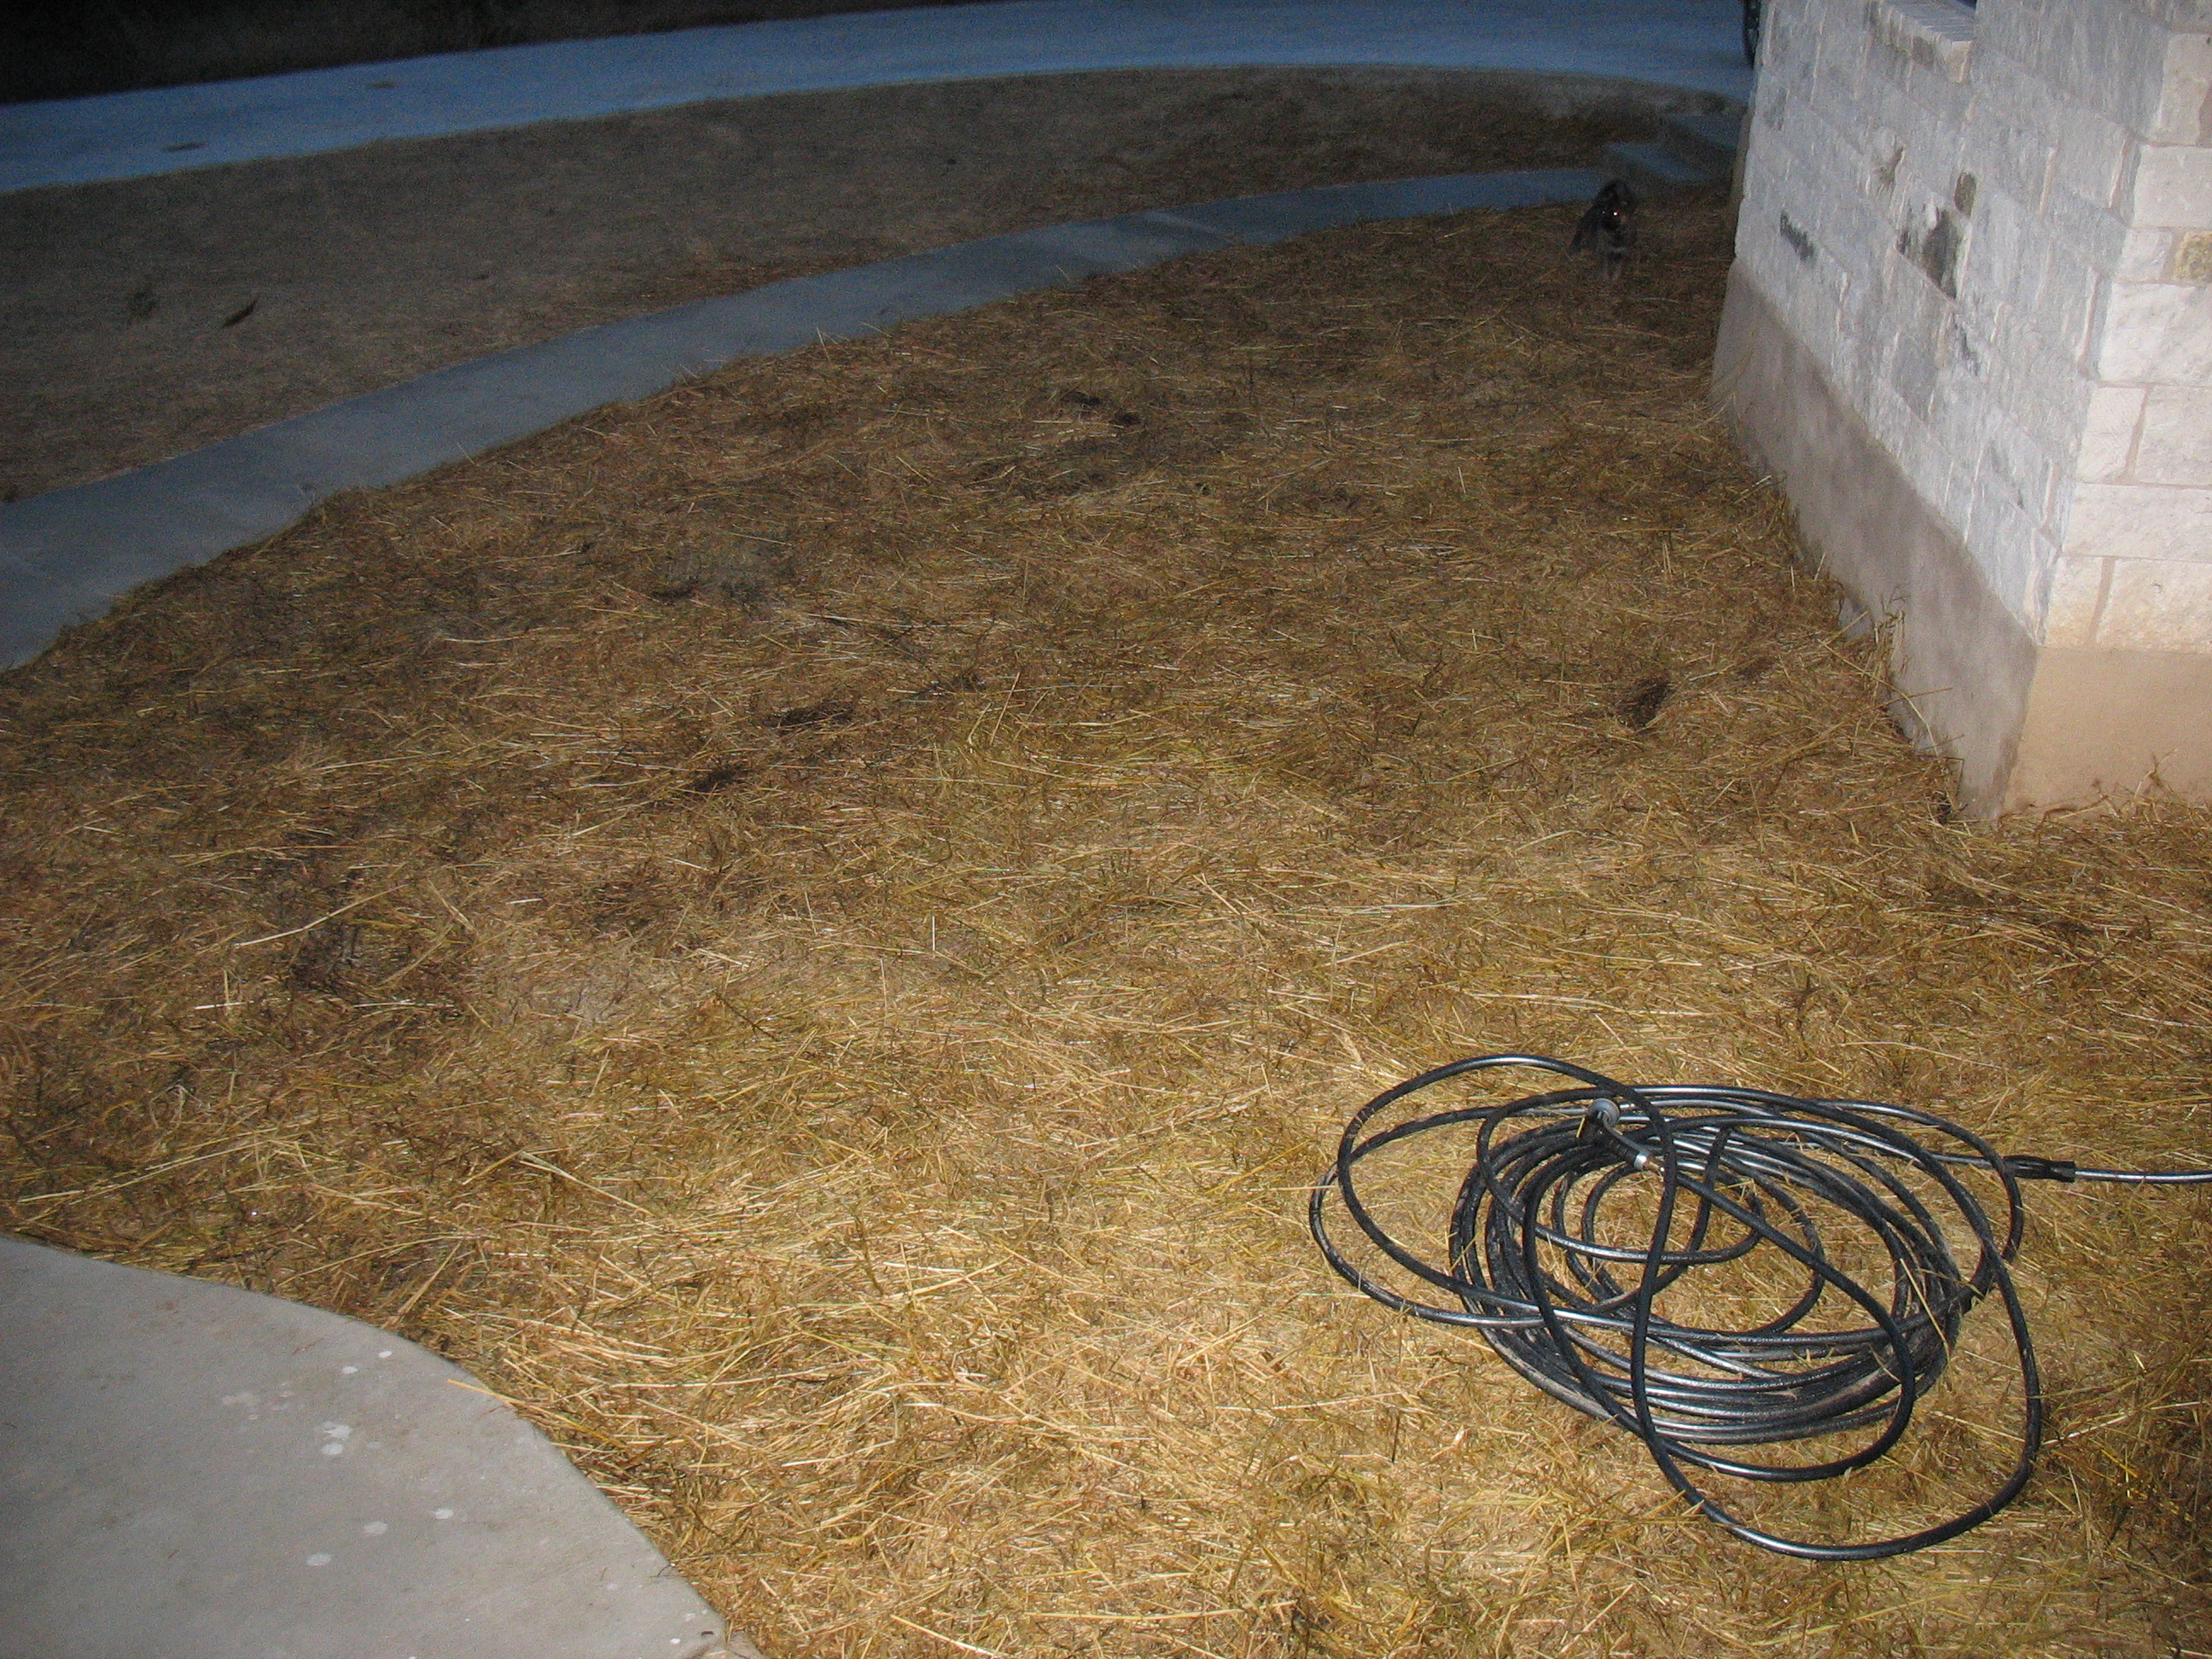
This is a large space. The camera shot doesn’t really do it justice. It takes a lot more material than one might think. You can just spot our new puppy in the upper right corner of the photo. We got a German Shepherd in mid-December. This portion of the project was completed on December the 29th.
At the time of this posting I still have not completed the sheet mulching pictured in these photos. I did complete the sheet mulching in the background of the above photo. I am going to add in the final phases of that area.
It was four months later, in April. Both of these areas had made it through the winter and were a little ragged. I had to add rocks and tree limbs to keep the straw from blowing away. I had also planted 3 pear trees in the front area by the driveway. When I put the shovel in the ground it was like cutting into soft butter. It was so easy to plant those trees. Another benefit of sheet mulching: water retention in the soil.
Almost six months after sheet mulching this area.
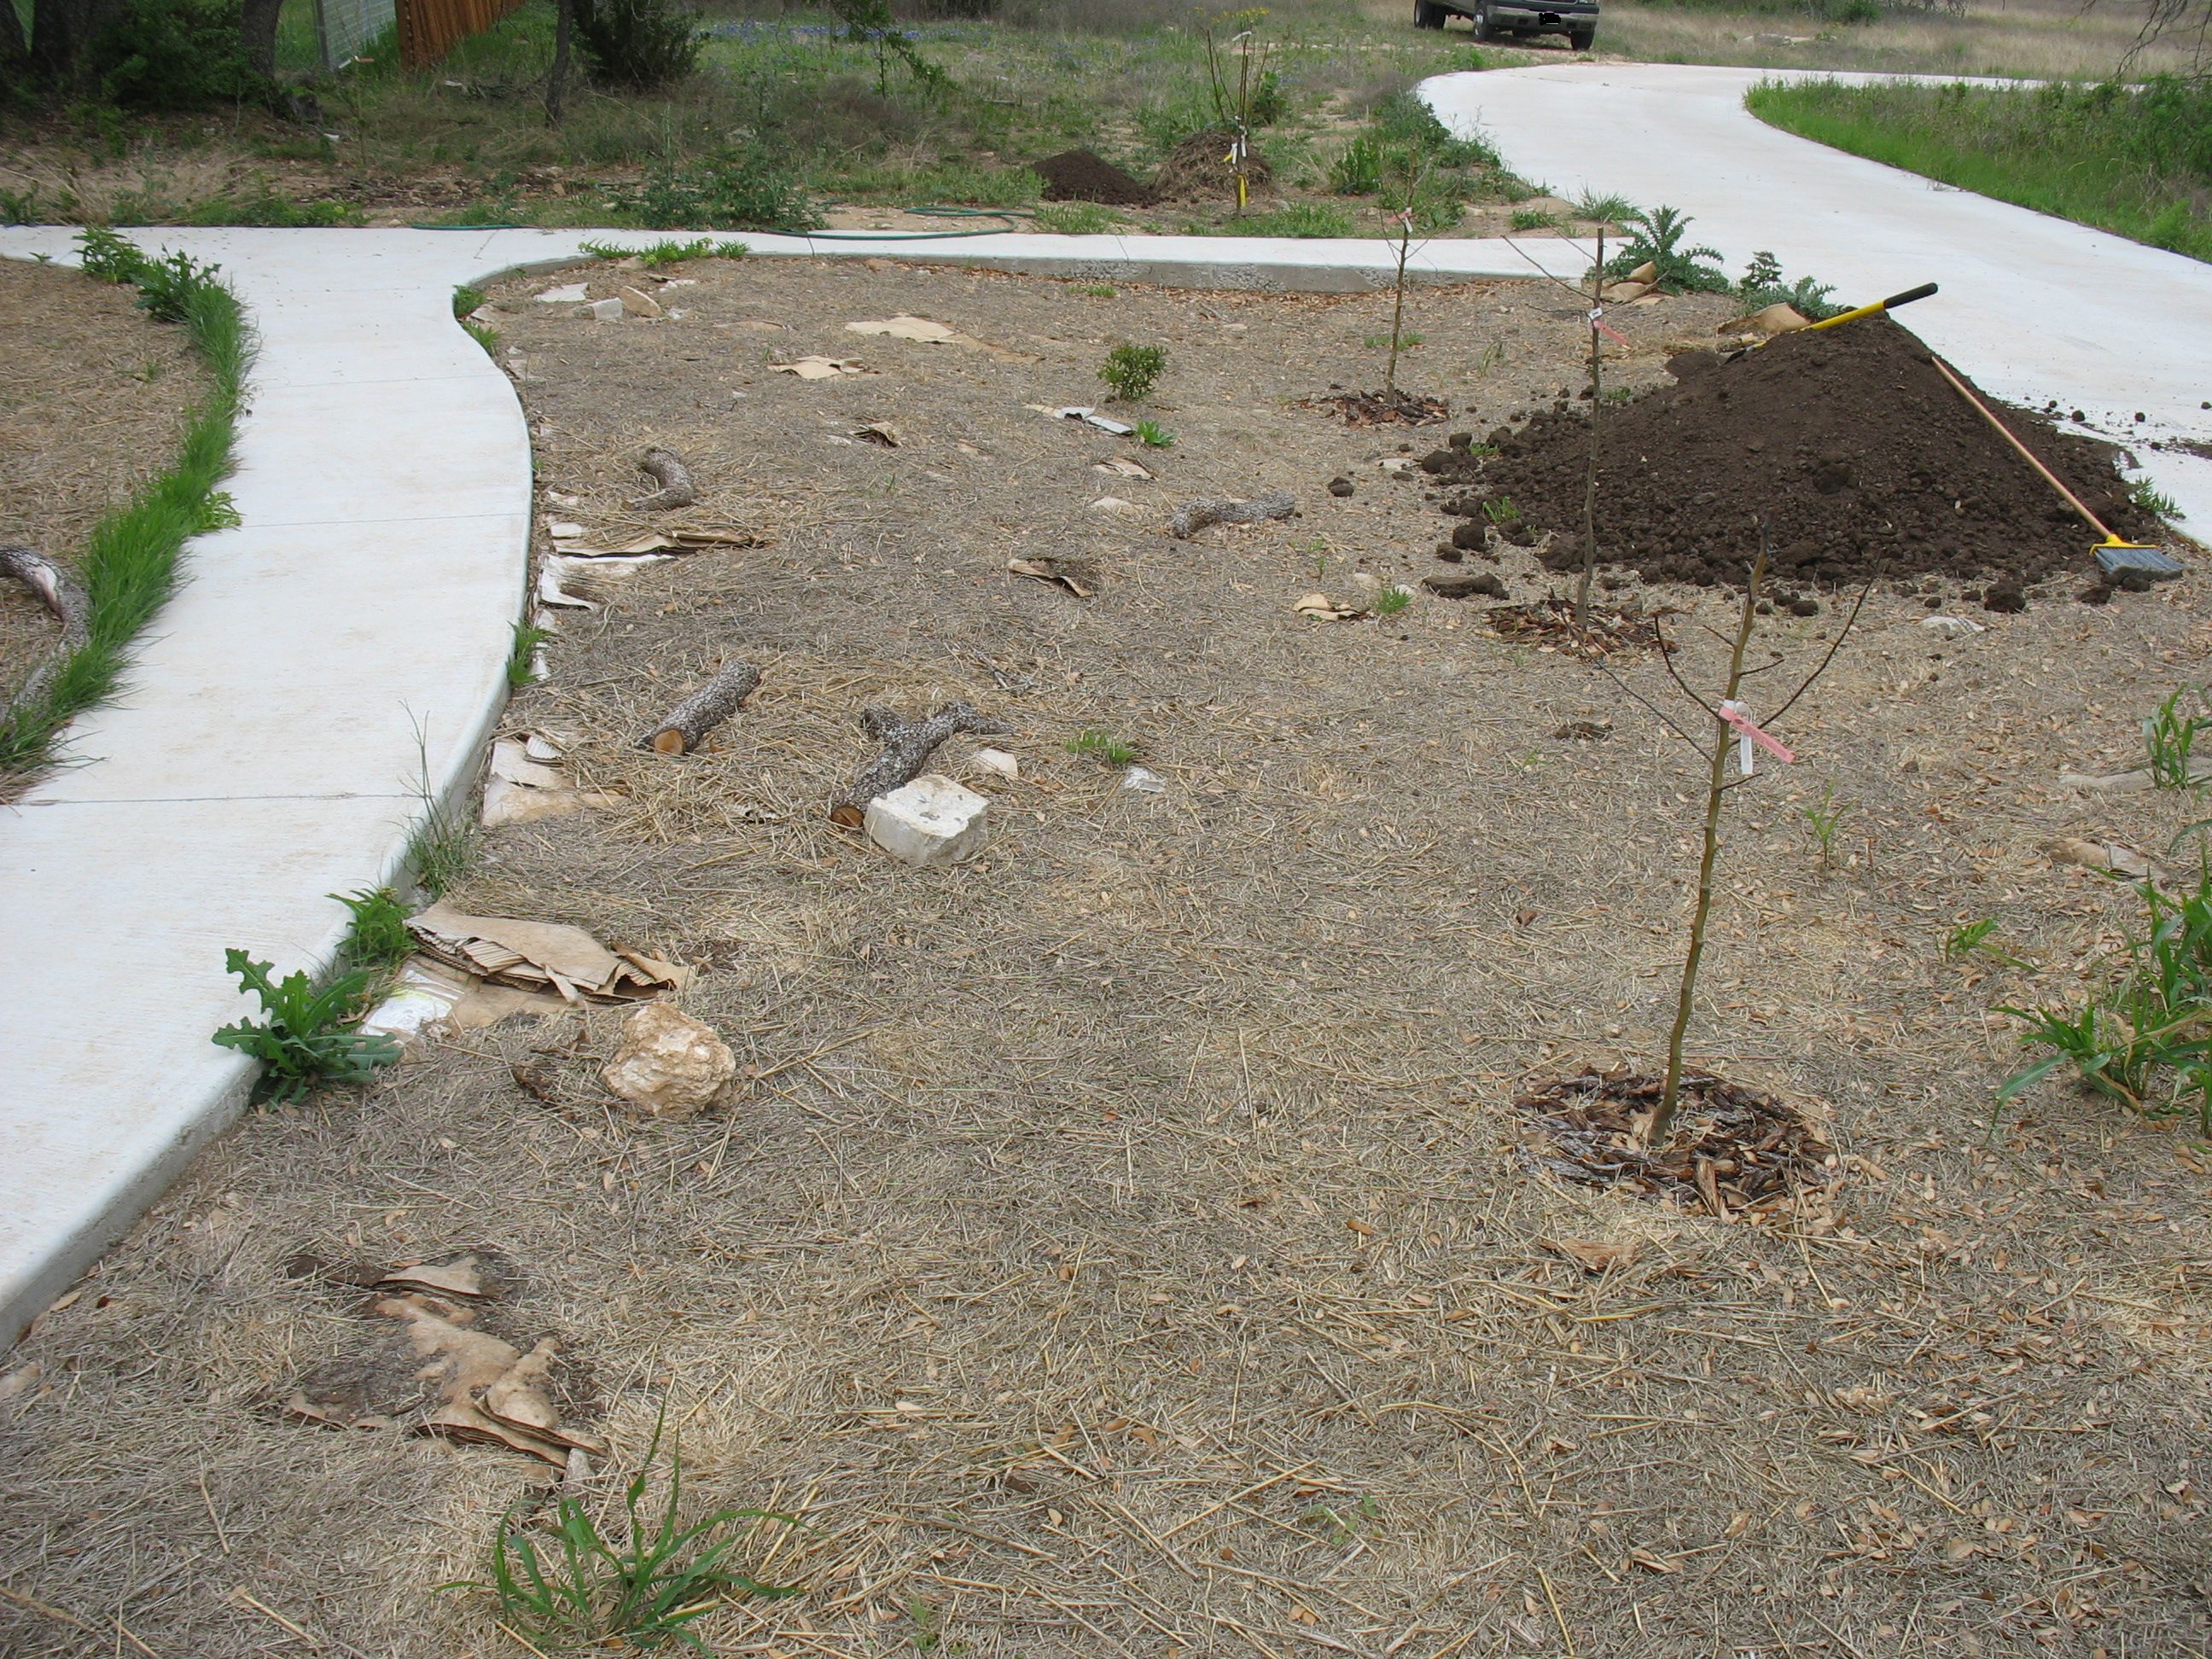
As you can see, the area looks rough. The wind has exposed some areas, but there has been significant repression of weed growth. The main weed growth is at the edges. The first step is to repair the damaged areas with their respective layers. I pulled up the weeds first. Its super easy, they come right out!

At this point I had taken to a dirt vendor 6 miles away and purchased compost and black mulch from them. I spot filled with compost and then with straw.
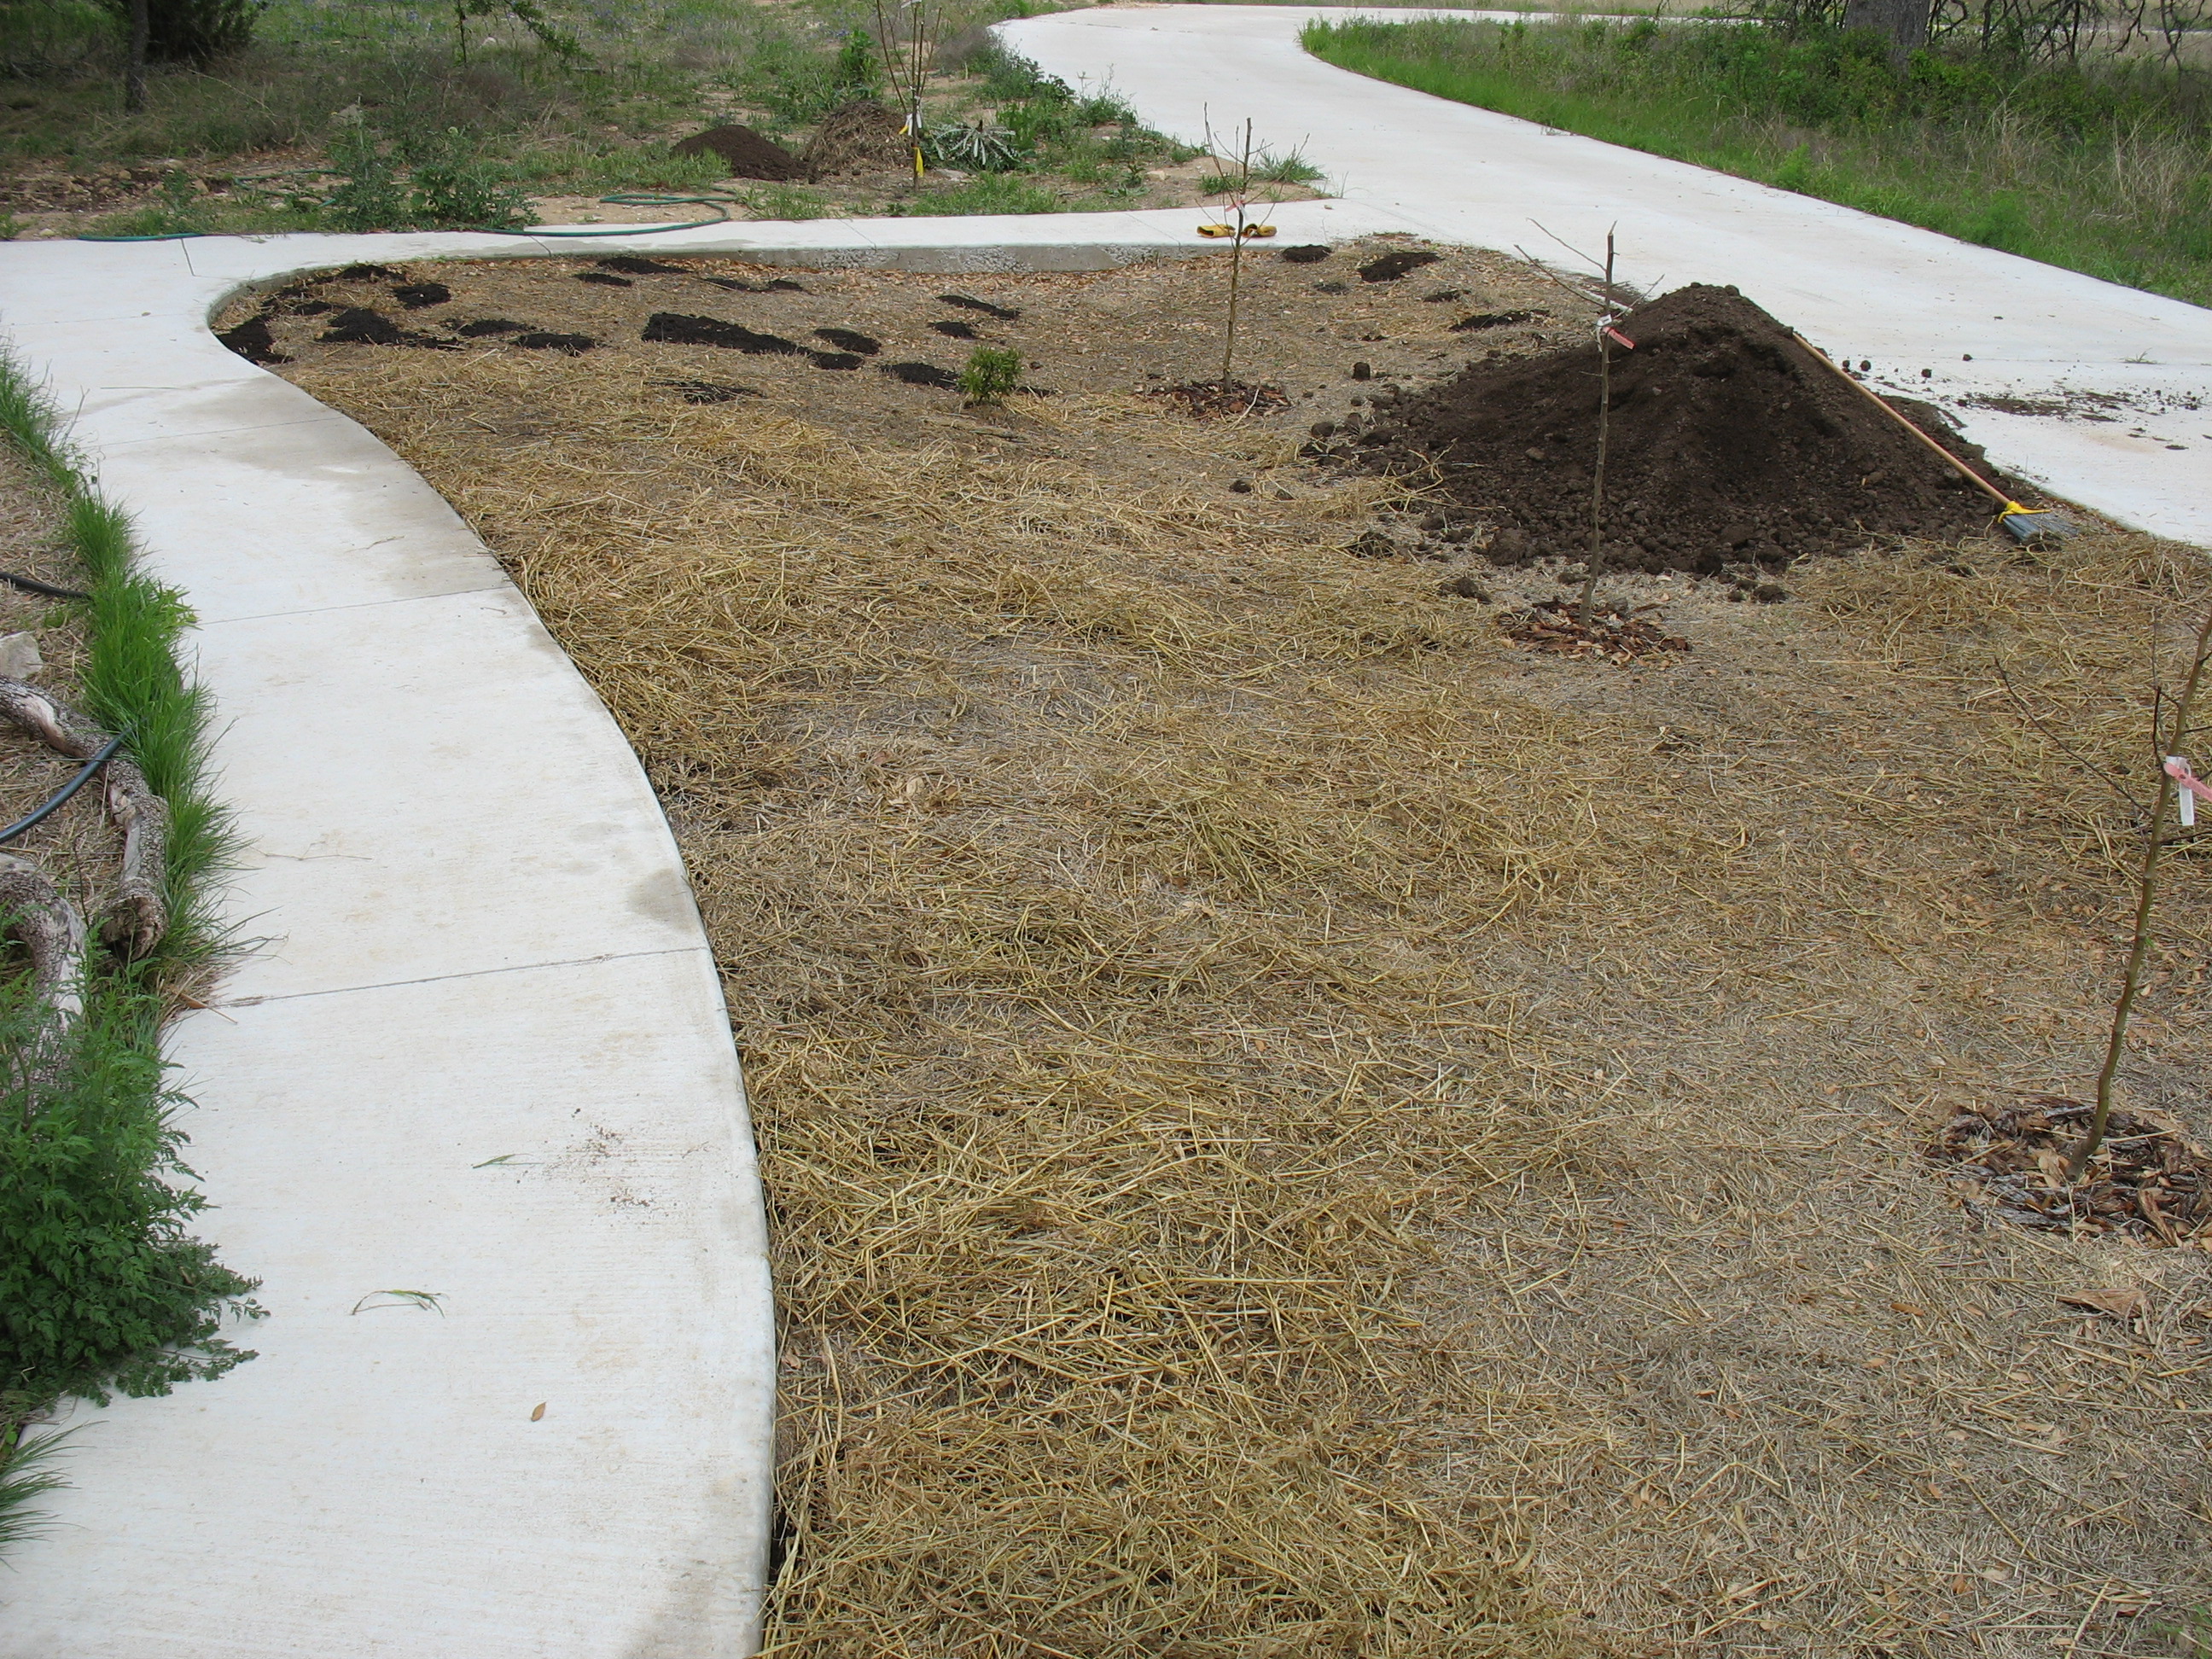
And more straw…

After patching the damaged areas, I added compost. You can see the pile in the last few photos.

Finally added the “living mulch”. The dirt vendor stated that it was a black mulch/compost combo. I didn’t quite have enough to do this area. I got a yard of the material, but needed a yard and half.
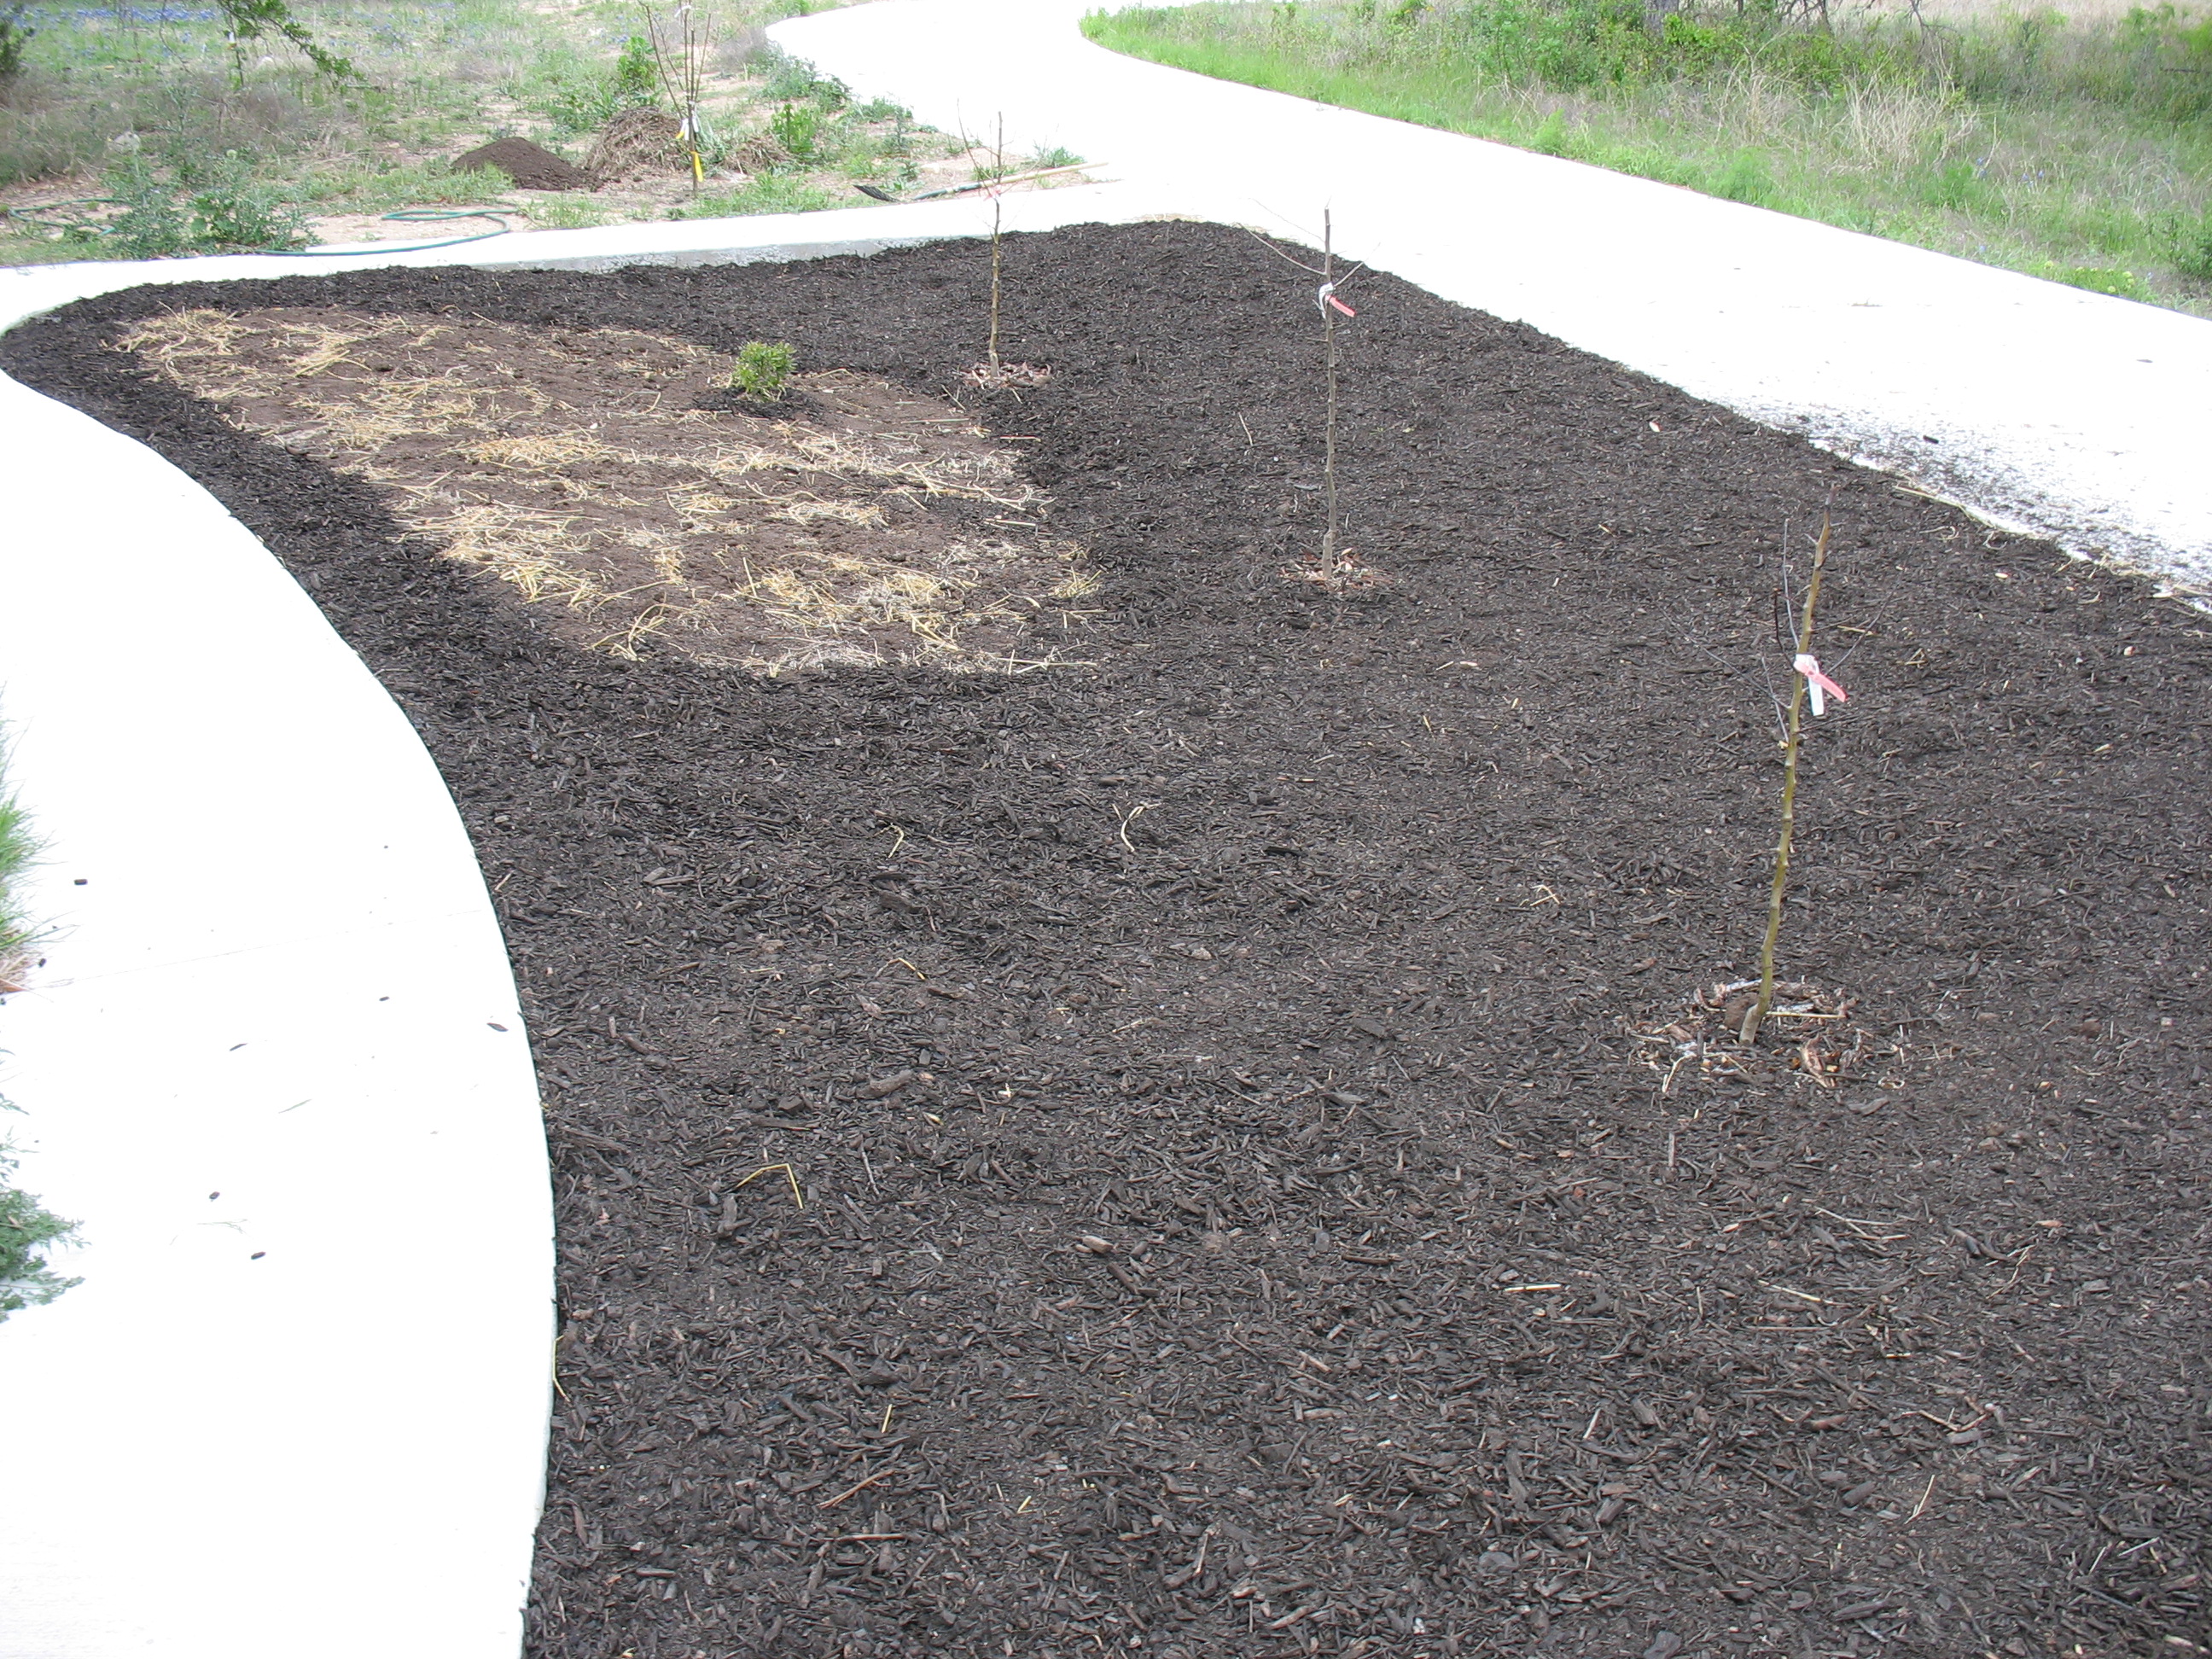
I was able to complete this project the next weekend. The three pear trees in the picture are a bosc(middle) and bartlett(outer). I chose them for this area because they are wet soil tolerant. This area holds moisture because of the sheet mulch and does not drain well. Two months after this series of pictures, the pears have bloomed, but they have struggled with the Texas sun. I will include pictures showing this in my next sheet mulch update.
